Learning how to replace a shower cartridge involves shutting off the water, matching the exact replacement part, extracting the old core, securing the new unit, and testing for leaks. At Wise Workman, we help you compare contractors when shower cartridge replacement requires a licensed plumber.
Stop and contact a plumber if: the shutoff fails, the valve body moves during extraction, or water appears inside the wall.
What Should You Check Before Starting?
We recommend confirming the cartridge model and a working water shutoff before taking the shower apart.
Identify the Exact Cartridge for Your Shower Valve
Find the brand and model using receipts, markings, or photos of the exposed valve. Match the replacement shower cartridge by part number and valve generation; handle shape alone is insufficient.
A pressure-balancing cartridge responds to supply-pressure changes. A thermostatic cartridge regulates mixed-water temperature, sometimes alongside a separate volume control. Even within Moen M-Core, different valve series use different flow cartridges, so brand matching alone is insufficient.
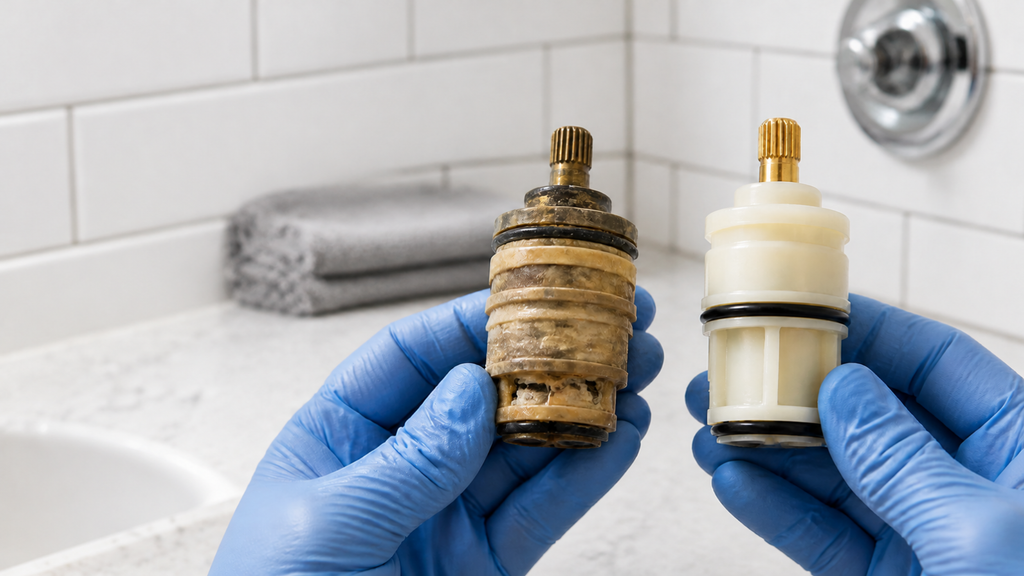
Take the old cartridge with you and match it like for like at the counter. Different brands and valve generations use designs that look nearly identical on the shelf.
Gather Tools and Check Whether the Repair Is DIY-Friendly
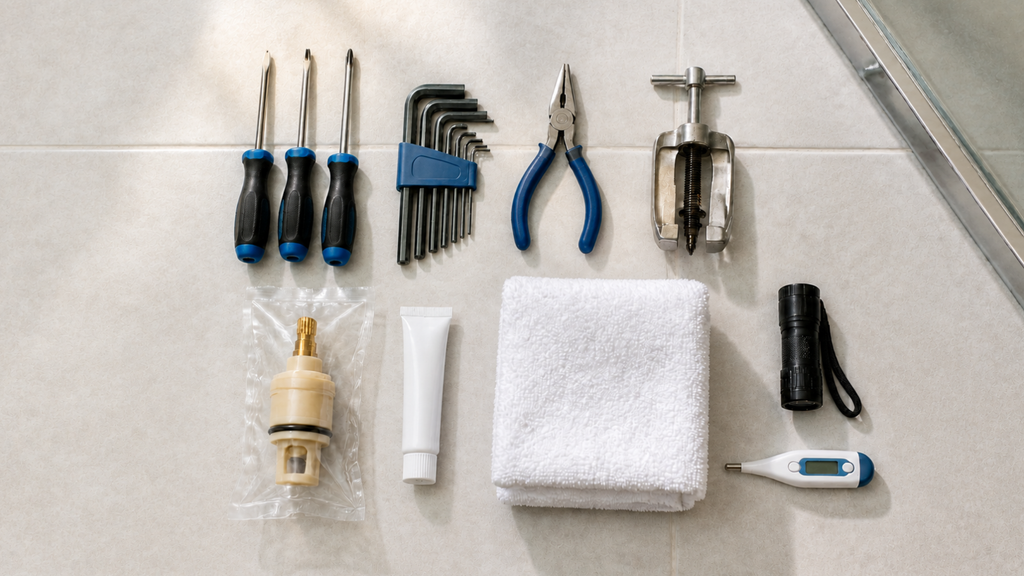
Knowing how to replace a shower cartridge starts with having the valve’s service instructions and correct tools ready. Our basic tool list includes:
- Correct screwdrivers and hex keys
- Needle-nose pliers
- Model-compatible cartridge puller tool, if required
- Replacement cartridge and specified seals
- Silicone plumber’s grease, only if approved
- Towels, a flashlight, and a thermometer
Proceed only if you can identify the retention system and safely isolate both supplies. A damaged handle or separate spout leak might need faucet repair beyond the cartridge.
Shut Off the Water, Relieve Pressure, and Cover the Drain
- Close the water supply. Use working shower isolation valves or the house main. Both hot and cold supplies must be isolated.
- Open the shower control. Allow trapped water to drain and confirm sustained flow has stopped. The valve is ready for disassembly only after pressure is relieved.
- Cover the drain. Place a removable cover over the opening and protect the shower floor. Small screws and clips now have a barrier against falling into the drain.
Turning the water off is only half of it. Open the handle afterwards to relieve the pressure still in the valve, or it sprays when the retainer comes loose.
Remove the Handle, Trim, and Old Cartridge
Careful disassembly preserves the wall finish and keeps extraction force away from the plumbing behind it.
Remove the Handle and Escutcheon Without Damaging the Wall
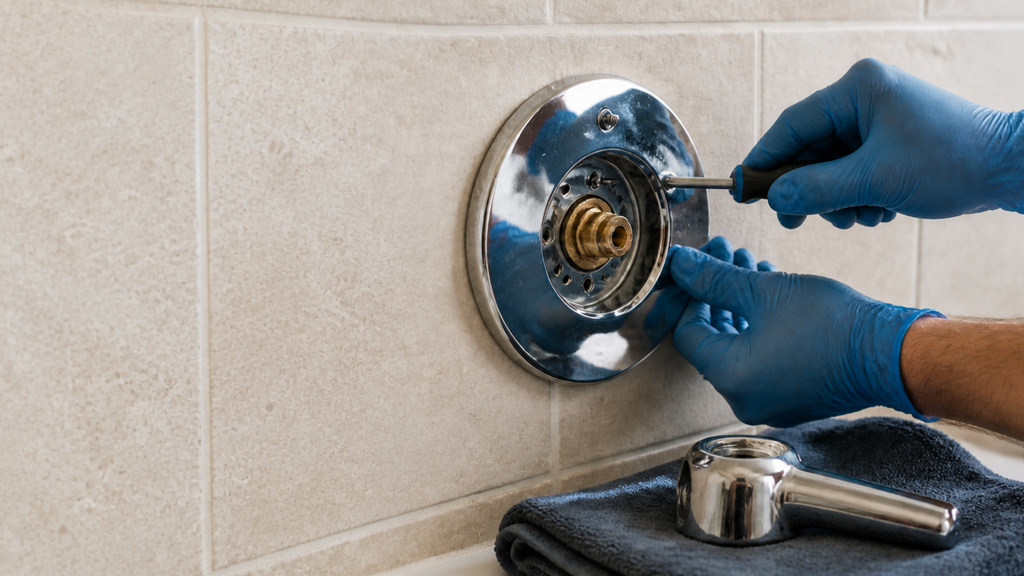
- Release the handle fastener. Locate the screw beneath its cap or along the handle’s underside. With the fastener removed, the handle should come free using its specified removal method.
- Remove the escutcheon. This trim plate covers the wall opening around the shower faucet. Release its screws and carefully separate any sealant, leaving the tile and waterproofing intact.
Keep sleeves and adapters in removal order. If the handle sticks, use its approved removal method; prying against tile risks damage.
Photograph the Cartridge Orientation and Release Its Retainer
- Photograph the cartridge orientation. Capture markings, alignment tabs, O-ring positions, and temperature-stop positions before moving them. Your photo preserves a reference for reassembly.
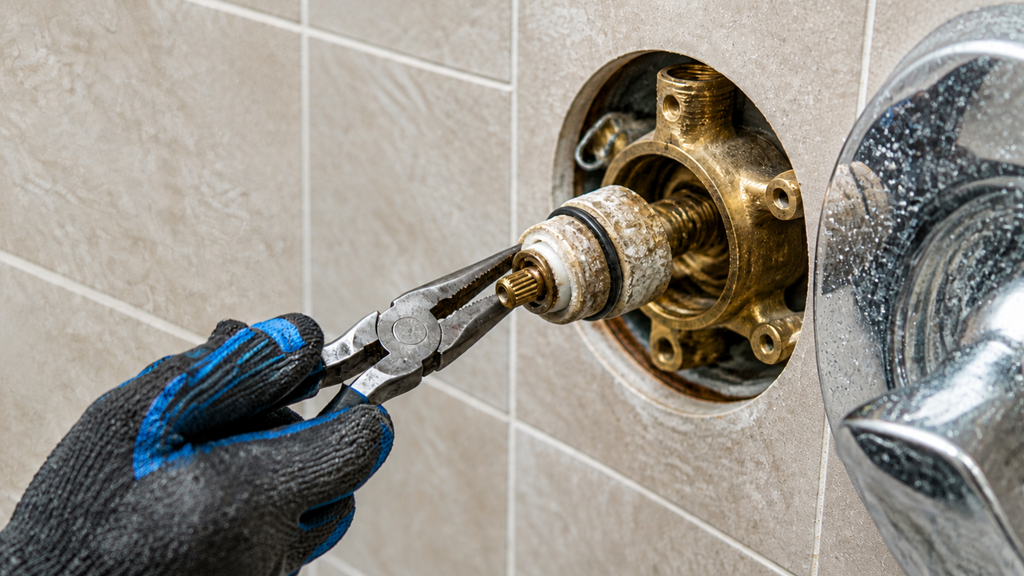
- Release the specified retainer. Carefully remove retaining clip hardware using needle-nose pliers, or unscrew the bonnet nut as directed. The cartridge is ready for extraction when its retention hardware is fully released.
A retaining clip, also called a retainer clip, requires a different removal method from a threaded nut. Confirm which system your valve uses before applying force.
Extract the Cartridge Without Forcing the Valve Body
- Withdraw the cartridge using the approved method. Some models pull straight out; others require a compatible cartridge puller. Stop if the valve body or connected pipes move, and proceed only while they remain stationary.
Twisting is permitted only where the manufacturer specifies it. Avoid levering against the wall, using heat, or gripping fragile plastic with excessive force.
If the valve body itself starts to shift in the wall as you pull, stop. Use a puller that braces against the valve instead of forcing the cartridge.
Install the Replacement and Test the Shower
Secure seating and complete retention must come before restoring water pressure.
Inspect the Valve Interior and Clean Approved Surfaces
- Inspect the empty valve. Look for broken cartridge pieces, damaged sealing surfaces, corrosion, and mineral deposits. Installation should proceed only with an intact valve interior.
- Clean the permitted surfaces. Remove loose debris with the manufacturer-approved method. Descale only with approved products and exposure times, leaving sealing surfaces clean and unscratched.
Avoid abrasives and unapproved chemicals. Leave flushing an open valve to a plumber unless the service procedure provides a safe containment method.
Lubricate Approved Seals, Seat the Cartridge, and Secure the Retainer
- Prepare the seals. Apply a thin film of approved silicone grease only where specified. Factory-lubricated or restricted components should remain in their supplied condition.
- Seat the shower cartridge. Align its keys and hot/cold markings with the valve instructions. Gentle pressure should place it fully at its specified depth.
- Secure the retainer. Refit the clip completely or tighten the retaining nut to its specified setting. The cartridge must be positively retained before water returns.
Petroleum lubricants damage some seal materials. Never hammer a cartridge into place or use the retaining nut to force a misaligned part inward.
Restore Water Slowly and Check for Leaks and Safe Temperature
- Restore the supply slowly. Fit the control components needed for safe testing, then reopen the water. The secured cartridge and surrounding valve should remain dry.
- Test operation. Run the shower through its intended range while staying clear of potentially hot water. Flow should respond smoothly, with the expected hot/cold direction.
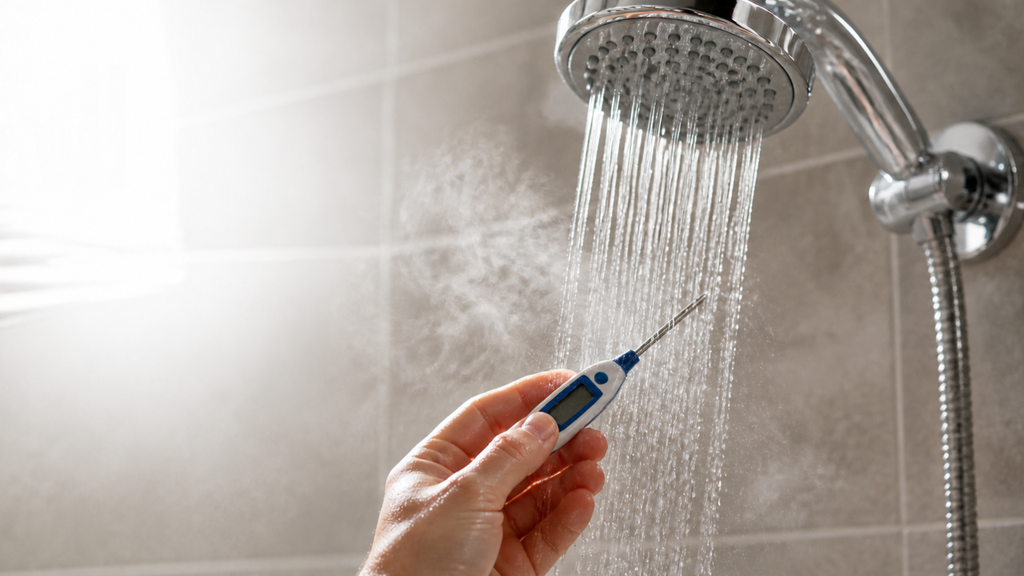
- Set the temperature limit. Follow the model-specific limit-stop or thermostatic calibration procedure and measure outlet temperature. The finished setting must meet the manufacturer’s instructions and applicable local requirements.
Check for leakage while running and after shutoff. Persistent dripping after residual showerhead water drains needs further investigation.
Lukewarm water after a new cartridge is usually the hot-limit stop, not a faulty part. New cartridges often ship with it set low, so pull the handle and adjust the toothed ring.
Reinstall the Trim and Restore Its Specified Seal
- Refit the escutcheon and handle. Restore the gasket or specified silicone caulk seal, preserving designated drainage openings. After any required cure time, the trim should be secure and sealed as designed.
Avoid sealing every edge automatically. Some trim assemblies require an open lower edge so trapped water can escape.
What If the Shower Still Leaks or Runs Poorly?
Persistent symptoms require another diagnosis before you replace more parts.
Match Persistent Symptoms to Likely Causes and Next Checks
We recommend locating the symptom first. A faulty shower cartridge shares several warning signs with supply restrictions and showerhead mineral buildup.
| Symptom | Likely cause | Next check |
| Continuing drip after shutoff | Damaged seal, incorrect cartridge, worn valve surface | Verify part number and inspect seals |
| Weak shower flow | Restricted showerhead, debris, partly closed supply | Compare flow at other fixtures |
| Reversed temperature direction | Incorrect setup or orientation | Follow the valve-specific correction |
| Damp wall or ceiling below | Concealed plumbing leak | Shut off water and hire a plumber |
If other fixtures also have low water pressure, investigate the supply before trying to increase shower pressure through further cartridge work.
Correct Seating or Orientation Only as the Manufacturer Directs
Shut off and relieve pressure again before reopening the valve. Compare installation details against the service instructions and your photographs.
Some models allow a stem adjustment; others require cartridge removal. A half-turn rotation is not a universal correction, and a forced retainer signals incomplete seating or incompatible parts.
Avoid Common Mistakes and Watch for Recurring Problems
Our main cautions are:
- Avoid buying by appearance alone.
- Keep pressure off until retention is complete.
- Use only approved lubricant and cleaning products.
- Preserve trim drainage openings.
Inspect for drips and dampness after the first use and again the following day. Add a monthly visual check to your home maintenance checklist, and investigate recurring stiffness or temperature changes promptly.
When Should You Hire a Plumber, and How Can You Compare Quotes?
Professional help is the practical next step when safe isolation or controlled removal is no longer possible.
Stop for Failed Shutoffs, Seized Parts, or Hidden Leaks
Stop work for any of these conditions:
- Water continues flowing after isolation.
- The cartridge breaks or remains seized.
- The valve body moves or shows damage.
- Water appears behind the wall or below the shower.
Keep the supply safely isolated and arrange shower repair. Wall-opening work and whole-valve repairs need professional assessment.
We at Wise Workman score local plumbers on real homeowner reviews, and nobody can pay for a higher rank.
Compare Written Prices and Confirm Licensing and Insurance
Ask each contractor to price the same shower cartridge replacement scope. A useful written price identifies the cartridge, labor, service fees, testing, warranty, and any excluded wall repairs.
Your shower repair cost changes with the work required. Confirm how seized-part extraction or valve damage changes the price, and require approval before additional work.
Hiring a licensed plumber guarantees that local building codes and safety standards are met. Verify current licensing with the appropriate authority and request insurance documentation. For suspected concealed damage, ask whether a separate plumbing inspection is necessary.
Use Wise Workman to Compare Review Evidence, Not Paid Placement
Our WW Score evaluates Project Completion, Professionalism, Experience, and Price Friendliness. Their weights are 35%, 30%, 20%, and 15%, respectively.
Our analysis covers Angi, Google, Yelp, Thumbtack, and HomeAdvisor. Evidence volume and dimension coverage affect rankings, as explained in our WW Score methodology.
Our data governance explains review handling and factual corrections. Profiles provide licensing and insurance status where publicly available; you should still verify current credentials before hiring.
Restore Reliable Shower Operation Without Forcing the Repair
We recommend finishing only when the replacement shower cartridge is securely retained, and the shower valve passes leak and temperature checks.
Keep the part number and installation photos for future service. If extraction moves the plumbing or testing reveals a concealed leak, leave the water safely isolated and arrange professional repair.
Frequently Asked Questions
Can I replace a shower cartridge myself?
We consider this DIY-friendly when you have working shutoffs, an exact replacement, and the specified tools. Stop if removal requires force that moves the plumbing or damages components.
Do I need to shut the water off to change a shower cartridge?
Yes, we recommend isolating both hot and cold supplies before releasing the cartridge retainer. Verified integral stops are sufficient when provided; otherwise, use the main shutoff.
Can I remove a shower cartridge without a puller?
Yes, if its approved removal method allows hand extraction and it releases freely. We recommend a compatible cartridge puller when required, with professional help for seized or broken parts.
How do I identify the correct Delta shower cartridge?
We recommend matching the valve model and generation to Delta’s official parts information. Use markings, purchase records, and cartridge photos; cap color or handle appearance alone is insufficient.
Is cartridge replacement different for two-handle or three-handle showers?
Yes, these showers might use separate cartridges or serviceable valve stems. We recommend identifying each control before ordering, because a center diverter requires different parts from a hot- or cold-water control.