You may have several questions regarding electrical wiring, for example:
how to run electricity to a shed? or
how can you run electric wires through exterior walls?
In this article, we will answer all your questions; keep reading to learn more! [1]
If you have a shed on your property, consider running power to it for lighting, power tools, or other electrical needs.
Running power to a shed can seem daunting, but it can be done safely and efficiently with the right tools and knowledge.
Before you begin, you must check your local building codes and regulations to ensure that you follow the proper guidelines.
You will also need to determine the power needs of your shed and what type of electrical wiring you will need to use.
If you are not comfortable working with electricity, it's best to hire a licensed electrician to do the job.
Before you begin running electricity to your shed, it's important to plan out your project carefully. This will help ensure that you have all the tools and materials you need, and that your project meets local electrical codes.
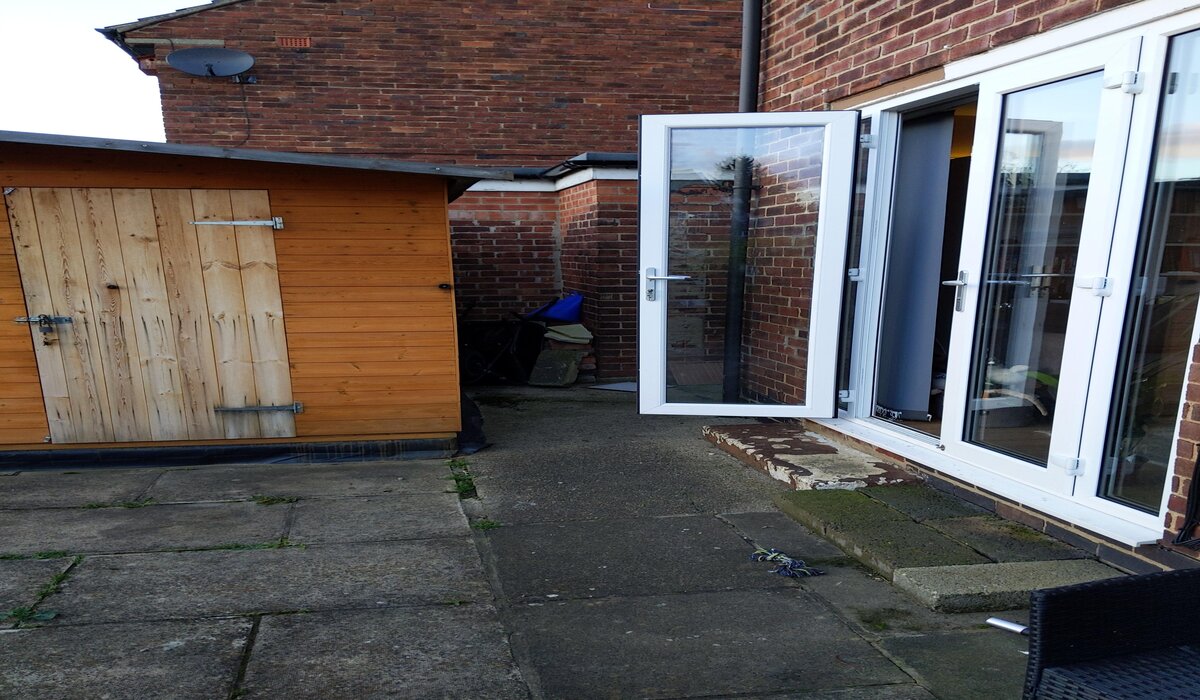
The first step in planning your project is to assess your shed's power needs. Consider what you'll be using electricity for in your shed:
Once you have a good idea of your power needs, you can determine the size of the electrical cable you'll need to run to your shed.
You'll also need to choose the right circuit breaker for your main panel based on the cable size and power needs.
Before running electricity to your shed, it's essential to understand your local electrical codes. These codes ensure your electrical installation is safe and meets local building standards.
Check with your local building department or electrical inspector to determine the codes you must follow.
You may need to obtain permits or inspect your installation to ensure it meets local codes.
Choosing the Right Tools and Materials
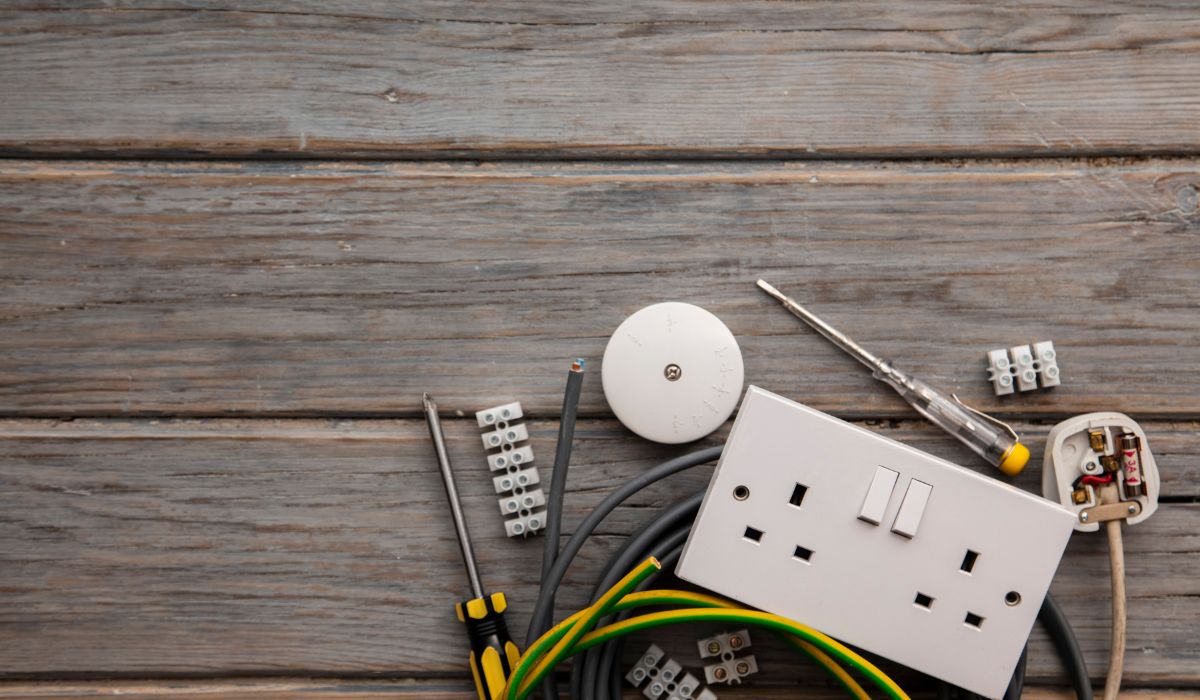
You'll need various tools and materials to run electricity to your shed:
When choosing your tools and materials, be sure to select high-quality products that are designed for outdoor use.
Look for products rated for the correct voltage and amperage and meeting local electrical codes.
By carefully planning your project, assessing your power needs, understanding local electrical codes, and choosing the right tools and materials, you can ensure that your electrical installation is safe, efficient, and meets your needs.
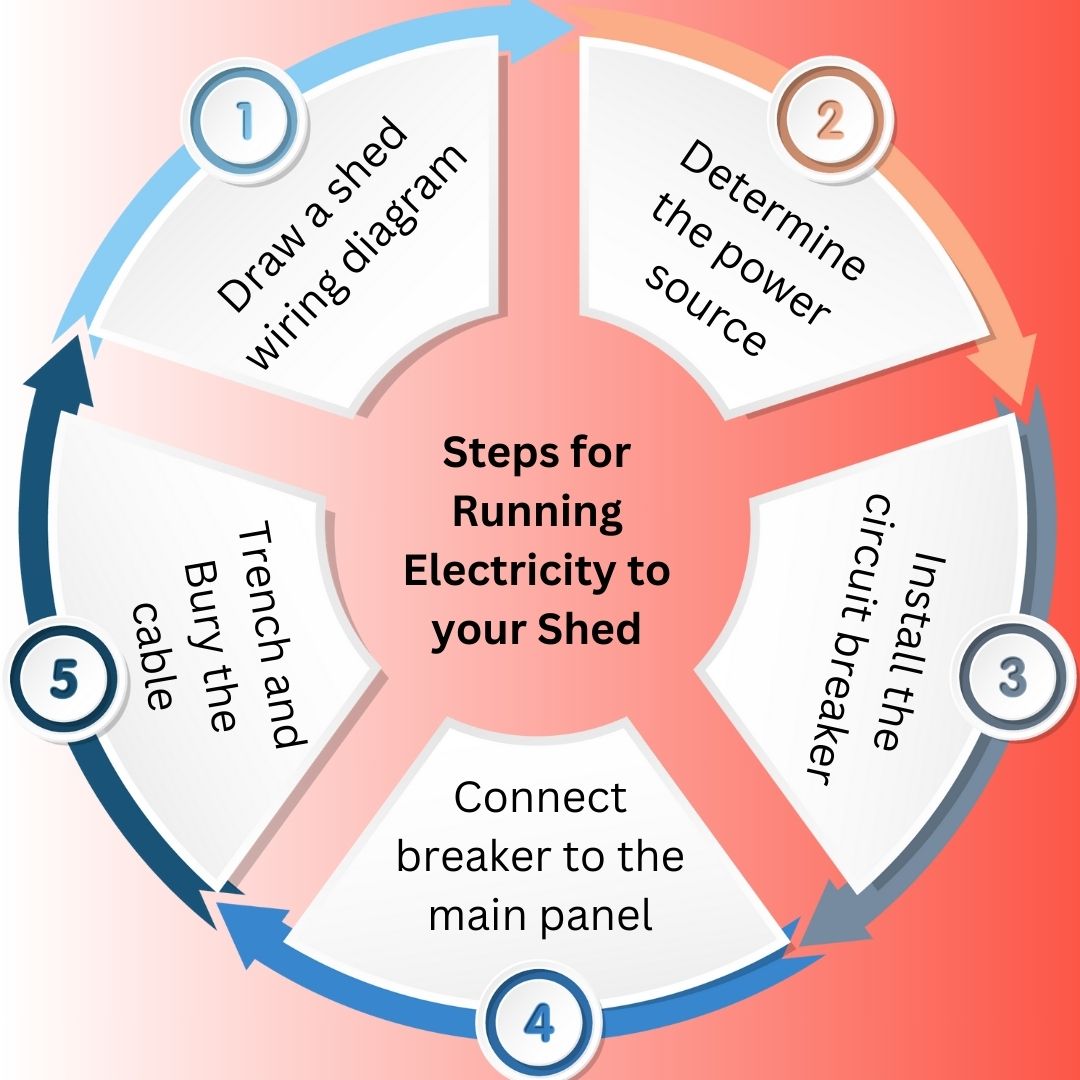
Laying out an electrical plan is essential before you start adding electricity to a shed. This will help you determine the best route for the electrical wiring and ensure you have the necessary materials and tools.
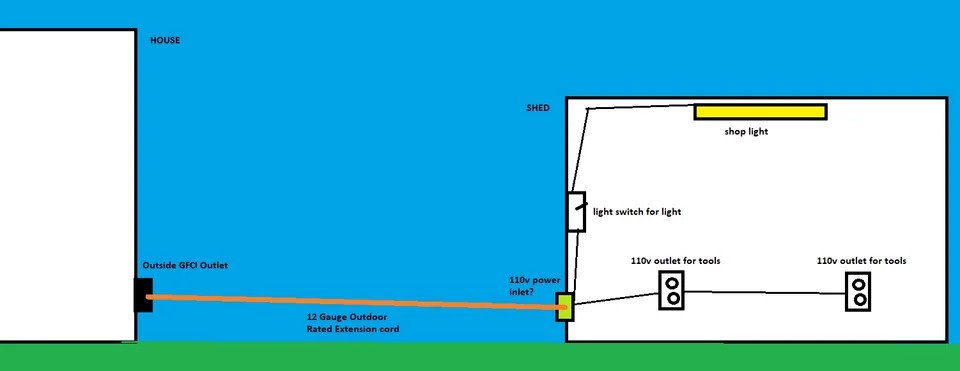
The first step in creating an electrical plan is to draw a wiring diagram of your shed. This diagram should include all the electrical components you plan to install, such as lights, outlets, and switches.
You should also include the location of your shed and the distance from your house.
When drawing your wiring diagram, it is essential to consider the power requirements of your shed.
This will help you determine the size of the electrical service you will need and the type of wire you will need to use.
Once you have your wiring diagram, you will need to determine the power source for your shed. Two options for powering your shed are running from your house or using a generator.
If you choose to run power from your house, you must determine the best route for the electrical wiring. This may involve digging a trench or running wiring overhead.
You will also need to ensure that your electrical service panel has enough capacity to handle the additional load.
If you choose to use a generator, you will need to determine the size of the generator that you will need and the type of fuel that it will use.
You will also need to ensure that you have enough fuel to power your shed for an extended period.
Therefore, laying out an electrical plan is essential in running your shed's power.
By drawing a wiring diagram and determining the power source, you can ensure that your electrical system is safe, reliable, and meets your power needs.
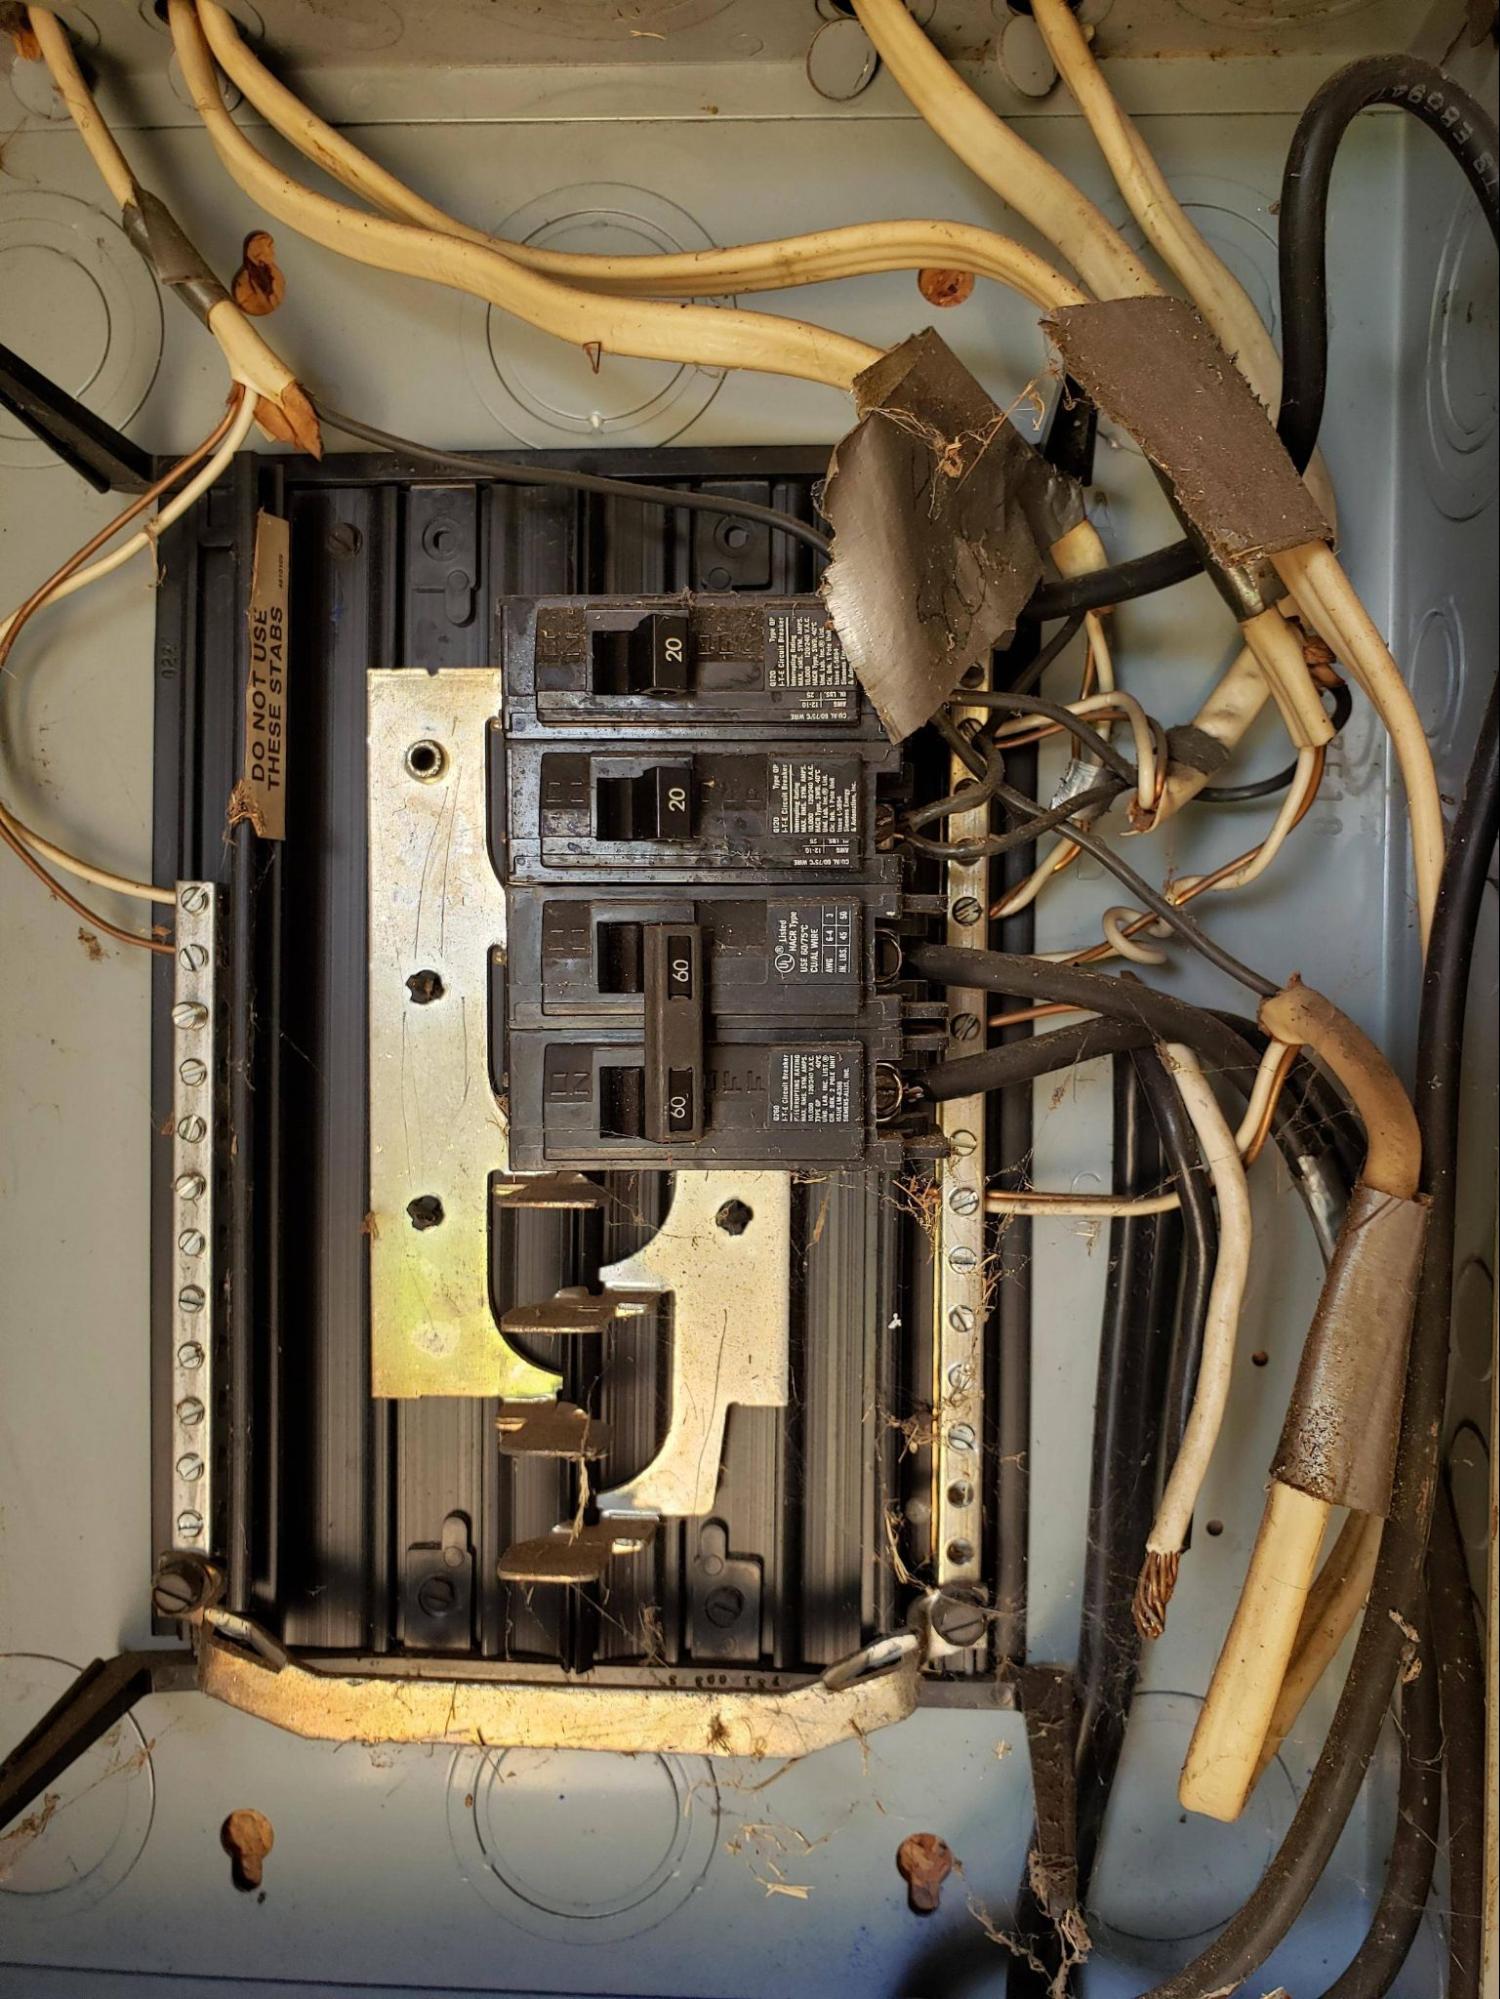
When installing the circuit breaker for your shed, remember a few things to ensure the process goes smoothly.
In this section, we'll cover the steps you need to take to select the right circuit breaker and connect it to the main panel.
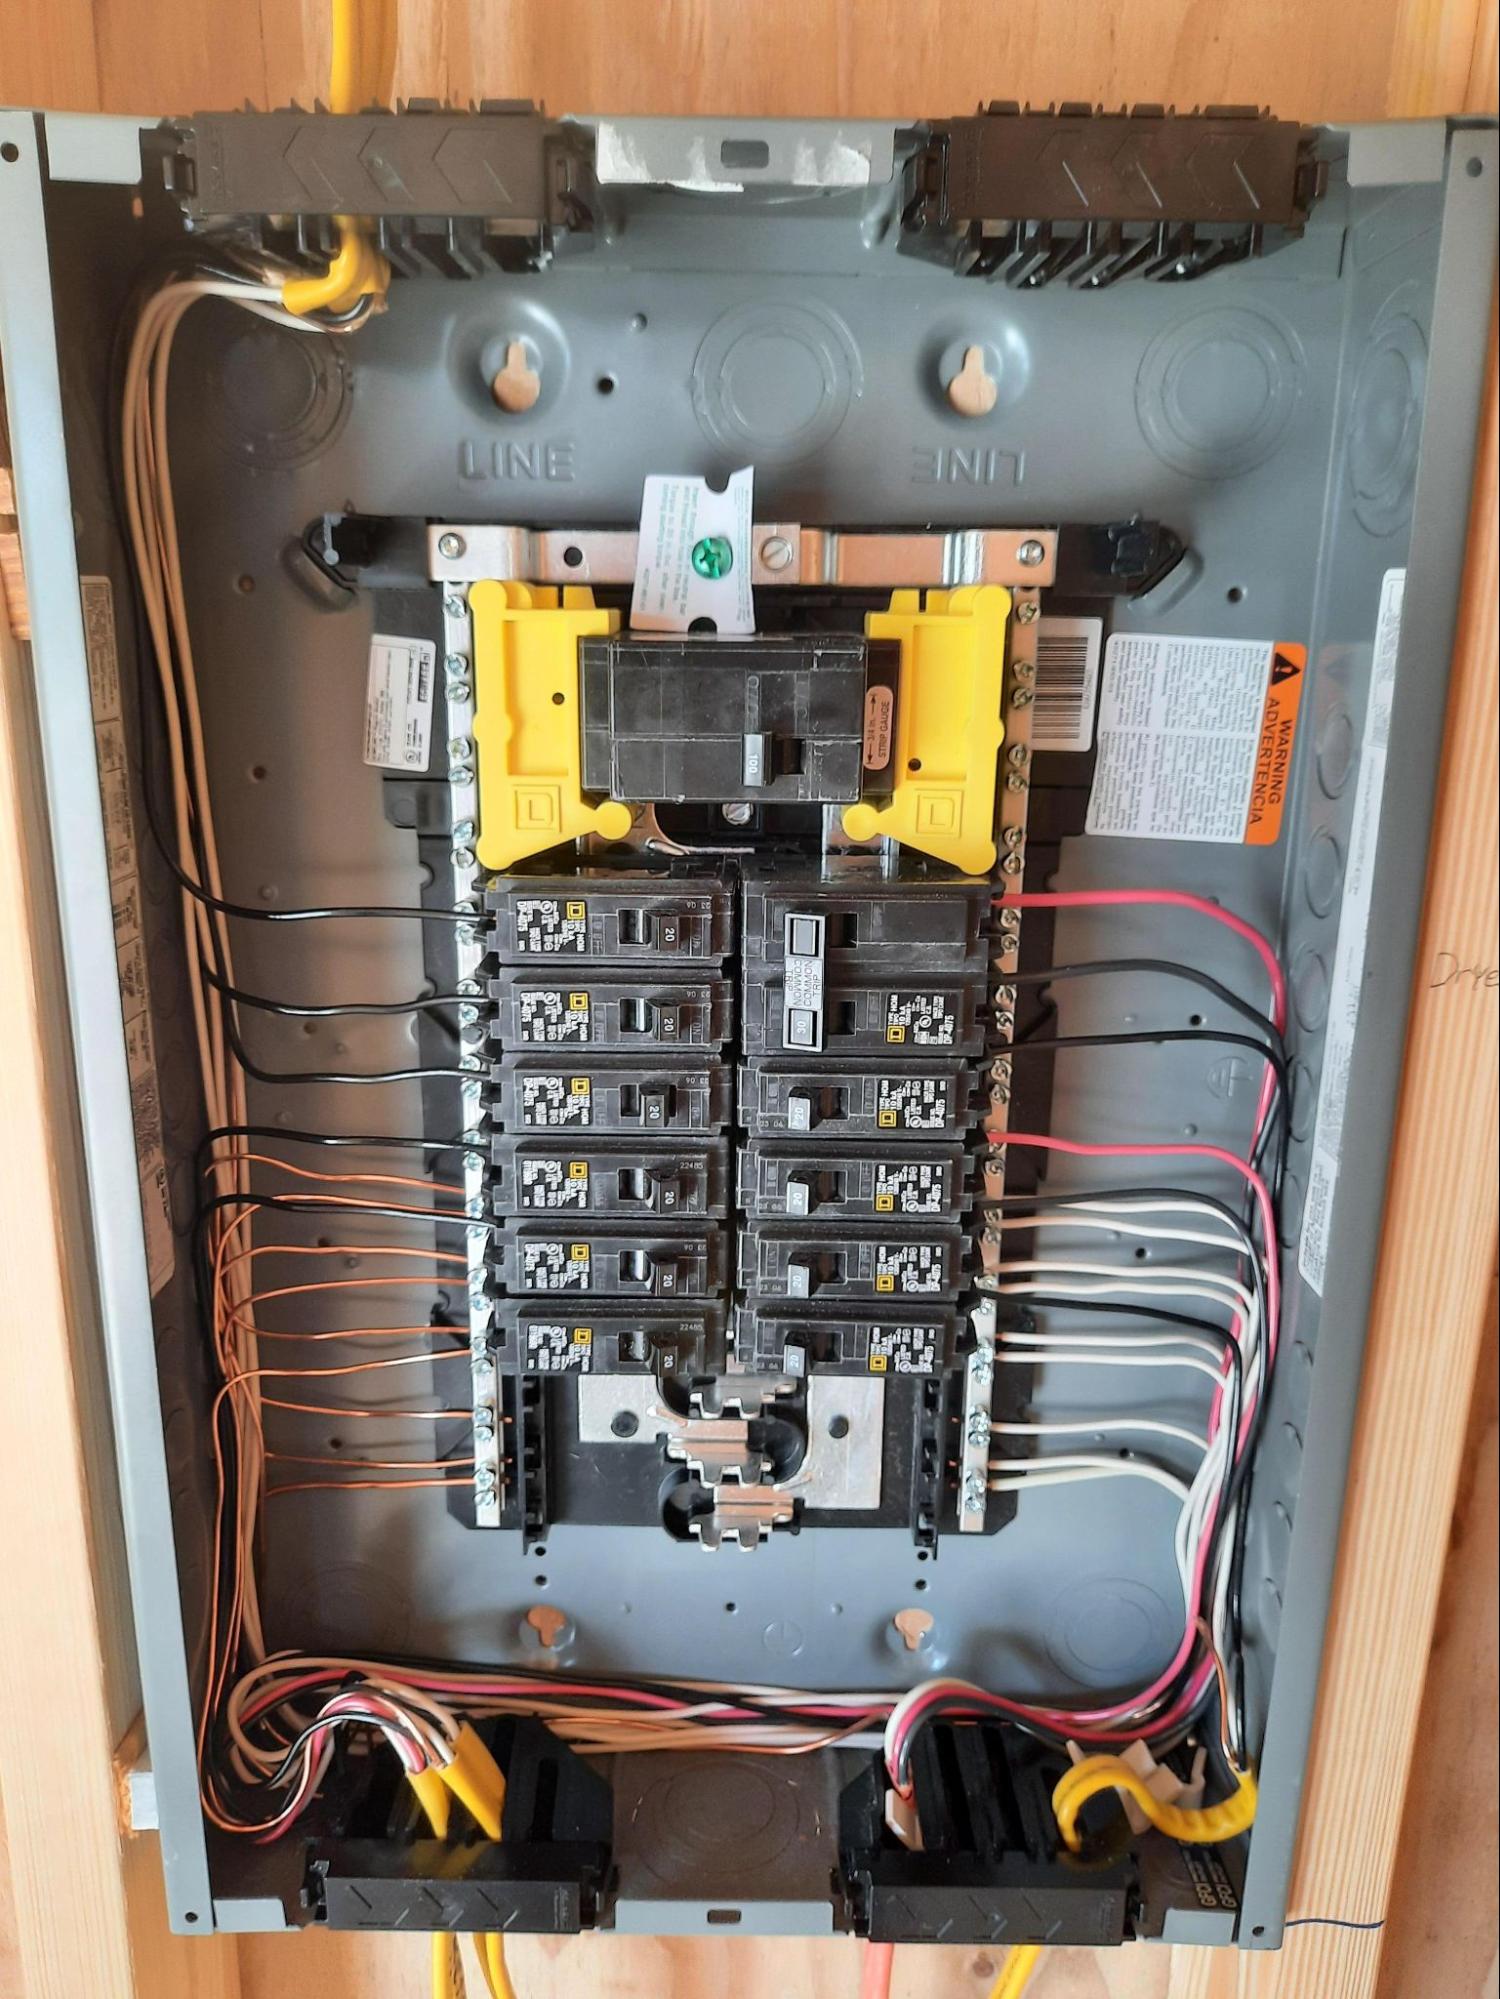
The first step in installing a circuit breaker for your shed is determining what type of breaker you need. This will depend on the power needs of your shed, as well as the size of the feed wire.
If your shed requires 240v power, you'll need a double-pole circuit breaker, while a single-pole breaker will suffice for 120v power.
It's also important to consider the circuit breaker size needed at the main panel. This will depend on the electrical loads in your shed.
According to the National Electrical Code (NEC), you should select a circuit breaker size that matches the ampacity rating of the wire used in the circuit.
The circuit breaker's size should protect the wire from overheating due to excessive current flow, ensuring safety. For instance:
If the wiring in your shed is rated for 60 amps, you should use a 60-amp circuit breaker to protect that wiring.
I've said it before, and I'll say it again. It's tough to beat a 60 ampere sub-panel. You might be able to get by with a 40 amp setup, but it's always nice to have future expansion possibilities.
Home Improvement (DIY StackExchange)
At 90 ft., you're probably okay to use 6 AWG copper, or 4 AWG aluminum conductors. You'll have to pull four conductors, either through conduit or via a cable.
Once you've selected the right circuit breaker, it's time to connect it to the main panel. A licensed electrician should do this to ensure it is done safely and correctly.
The process will involve running a new circuit from the main panel to the shed, which may require digging a trench to bury the wire.
Before connecting the circuit breaker, turning off the power to the main panel is essential. This can be done by turning off the main breaker or by temporarily letting the power company shut off the power.
Once the power is off, you can connect the circuit breaker to the main panel and run the wire to the shed.
Overall, installing a circuit breaker for your shed is essential in running electricity to your shed.
By following these steps and working with a licensed electrician, you can ensure the process is done safely and correctly.
Once you have determined the power needs of your shed and have all the necessary tools and materials, it's time to start running the wiring.
This section will cover the two main steps involved in this process: trenching and burying the cable and running the wire outside the wall.
The first step in running the wiring to your shed is to dig a trench from your home's electrical panel to the shed.
The trench should be at least 18 inches deep and wide enough to accommodate the cable you will be using. Check with your local building codes to determine the required depth for your area.
Once you have dug the trench, you can begin laying the cable. It's essential to use a cable rated for outdoor use and suitable for your shed's voltage and amperage requirements.
Consider using a conduit to protect the cable from damage and make it easier to replace.
After laying the cable in the trench, you can cover it with soil and pack it to ensure it is secure. Make sure to mark the location of your outdoor wiring so that you can quickly locate it in the future if needed.
If you need to run the wire outside of a wall, there are a few things to keep in mind. First, make sure to use a cable rated for outdoor use and suitable for your shed's voltage and amperage requirements.
You may also want to consider using a conduit to protect the cable from damage and make it easier to replace in the future.
When running the wire outside a wall, keeping it away from sharp edges or corners that could damage the cable is essential. Use cable clamps to secure the cable to the wall and prevent it from moving around.
Running the wiring to your shed may seem daunting, but with the right tools and materials, it can be done safely and efficiently.
By following these steps and taking the necessary precautions, you can ensure that your shed has the power to be a functional and valuable space.
Once you have run power to your shed, the next step is to set up outlets and lighting. This will allow you to use power tools and work in the shed after dark.
To install outlets, you will need to run electrical wire through the exterior wall of your shed. This can be done using a conduit or drilling a hole and running the wire through it.
Make sure to use wire-rated outdoors and the correct gauge for your needs.
Once the wire is run, you can install electrical boxes and outlets. Follow the manufacturer's instructions and turn off the power before working on any electrical components.
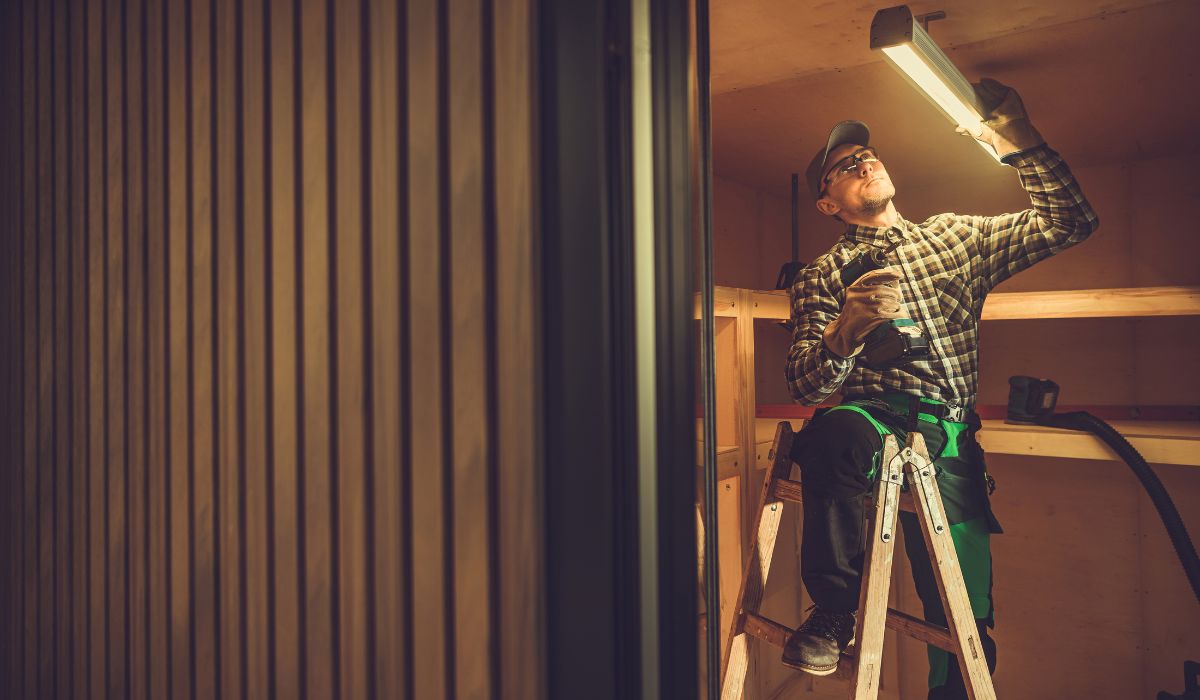
Light fixtures can be installed similarly to outlets. Run electrical wire through the wall and install a junction box. You can install the light fixture from there according to the manufacturer's instructions.
When choosing light fixtures, consider the size of your shed and the light you need. LED lights are popular for sheds as they are energy-efficient and long-lasting.
Overall, setting up outlets and lighting in your shed is a straightforward process that can be done with electrical know-how. Just make sure to follow all safety precautions and to use the correct materials for your needs.
Once you have successfully run electricity to your shed, it is essential to finalize the installation to ensure it is safe and functional. This section will cover testing the electrical system and securing the wiring and outlets.
Before you start using the power in your shed, it is essential to test the electrical system to ensure everything is working properly. Here are some steps you can follow:
If you notice any issues during the testing process, addressing them before using the power in your shed is essential.
After you have tested the electrical system and made any necessary repairs, securing the wiring and outlets is important to ensure they are safe and functional. Here are some steps you can follow:
By following these steps, you can finalize the installation of your new electrical system and enjoy the benefits of having power in your shed.
When running power to your shed, it's important to prioritize safety. Here are a few key considerations to keep in mind:
Working with electricity can be dangerous, so taking the necessary precautions to stay safe is important. Here are a few tips to keep in mind:
Regular maintenance and inspections ensure that your electrical components work correctly and safely. Here are a few things to keep in mind:
By considering these safety considerations, you can help ensure that your shed's electrical system is safe and reliable.
When wiring a shed, following local building codes to ensure safety and compliance is essential.
You'll need to run a dedicated circuit from your main electrical panel to your shed and install a subpanel to distribute the power.
From there, you can wire your outlets and lighting as needed. It's best to hire a licensed electrician to do this work for you, as working with electricity can be dangerous if you need to be adequately trained.
Depending on your specific needs and local building codes, there are many different ways to wire a shed for power.
It's best to consult a licensed electrician who can create a wiring diagram that meets your needs and complies with local codes.
However, a basic diagram might include:
The cost of running electricity to your shed will depend on various factors, including the distance between your main electrical panel and your shed, the amount of power you need, and the project's complexity.
On average, you can expect to pay anywhere from $500 to $2,000 for this type of work. It's best to get a quote from a licensed electrician in your area for a more accurate estimate.
When running power to an outdoor shed, it's important to use cable rated for outdoor use that can withstand exposure to the elements.
Some common types of cable used for this purpose include UF cable, designed for direct burial, and PVC conduit, which can be used to protect other cable types. It's best to consult a licensed electrician to determine the best cable type for your specific needs.
Yes, it's possible to power your shed using solar energy. This can be a great option if you want to avoid running power from your main electrical panel or if you want to reduce your carbon footprint.
You'll need to install solar panels on your shed's roof and connect them to a battery bank and an inverter. It's best to consult a licensed electrician or solar installer to ensure your system is appropriately designed and installed.
No, running a cable from an indoor socket to your shed for power is unsafe. This can overload the circuit and create a fire hazard. It's essential to run a dedicated circuit from your main electrical panel to your shed and install a subpanel to distribute the power.
It's best to hire a licensed electrician to do this work for you, as working with electricity can be dangerous if you need to be adequately trained.