You may find yourself wondering how to weatherproof wood. Weatherproofing wood is a critical process that involves applying protective coatings or treatments to wood surfaces to safeguard them from the harsh effects of the elements.
Weatherproofing is essential to maintain their beauty and structural integrity, whether it's your outdoor deck, furniture, or interior wood features.
In this article, we will explore the significance of weatherproofing wood and emphasize the importance of this comprehensive resource. Keep reading to find out more!
From decks and fences to furniture and paneling, wood is a durable and visually beautiful material utilized in a variety of outdoor applications. It is essential to weatherproof wood in outdoor situations to ensure its durability.
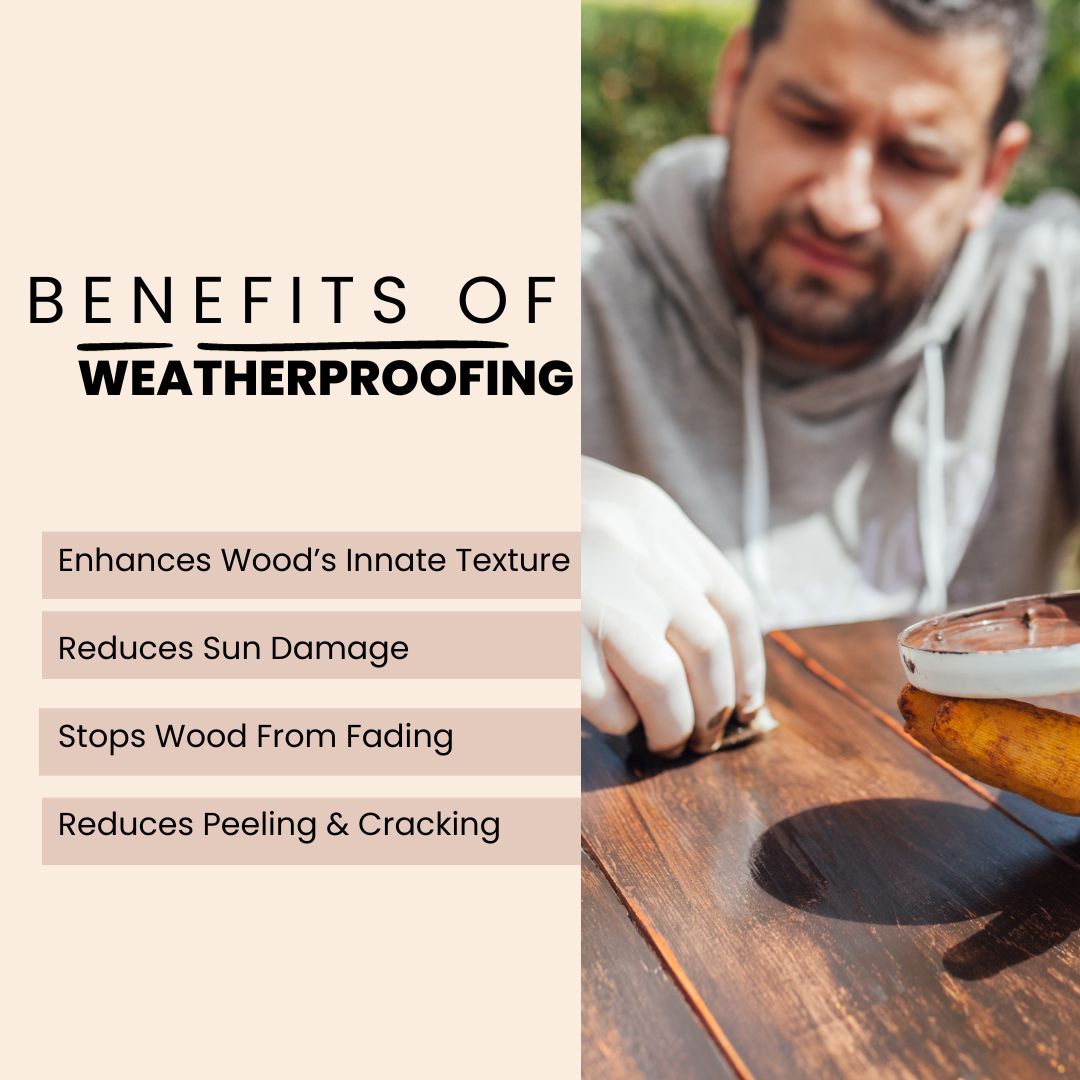
Staining, sealing, and painting are three techniques for weatherproofing wood, each with advantages and things to keep in mind.
These wood weatherproofing methods will be covered in this section, and we'll assist you in selecting the best one for your project.
Staining: Staining is a well-liked technique for protecting wood from the elements while enhancing the natural beauty of the wood. Considerations and benefits are listed below:
Advantages:
Considerations:
Sealing: Applying a clear or colored sealer to the wood's surface creates a barrier of protection during sealing. The benefits and factors to be aware of while sealing wood are as follows:
Advantages:
Considerations:
Painting: While there are some significant ways in which painting differs from staining and sealing, it is nonetheless a successful method for weatherproofing wood. The benefits and factors to be aware of while painting wood are as follows:
Advantages:
Considerations:
Choosing the Right Method: Your particular project, aesthetic choices, and maintenance capabilities will determine whether you should stain, seal, or paint wood to make it weatherproof. Think about the following elements:
Wood Type: Different types of wood may respond differently to weatherproofing methods.
Wood must be weatherproofed in order for it to be strong and resilient in outdoor settings. Painting, sealing, and staining are all reliable techniques, each with pros and things to keep in mind.
To safeguard and improve your outdoor wood surfaces, choose the best wood weatherproofing approach by carefully evaluating your project's demands and preferences.
To get long-lasting results, it is essential to properly prepare wood surfaces prior to applying weatherproofing treatments like staining, sealing, or painting.
Here is a step-by-step process that will take you through the crucial procedures of cleaning, sanding, and fixing cracks or holes in wood surfaces.
We will also discuss the significance of each of these processes for the accomplishment of your weatherproofing project.
Step 1: Wood Cleaning
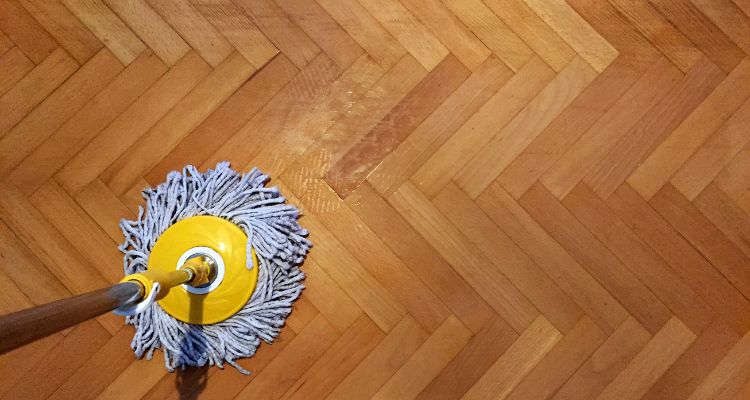
Cleaning the wood surface thoroughly is the first and most critical step in surface preparation.
Materials Needed:
Procedure:
Use a bristle brush or broom to remove any loose dirt, trash, or leaves from the wood surface.
As the manufacturer directs, combine water and a light detergent or wood cleaner in a bucket.
Apply the soapy solution to the wood's surface using a scrub brush or pad. Scrub softly yet thoroughly to get rid of dirt, filth, mildew, and other impurities.
Use a hose or bucket to rinse the wood surface thoroughly. Make sure that no soap residue is left behind.
Before moving on to the following stage, let the wood thoroughly dry. Depending on the weather, this can require one or two days.
Why Cleaning is Crucial: Surface contaminants can hinder the adhesion of weatherproofing materials. Therefore, cleaning removes them. Additionally, it aids in preventing the growth of mold and mildew, which might jeopardize the stability of the wood.
Step 2: Sanding the Wood
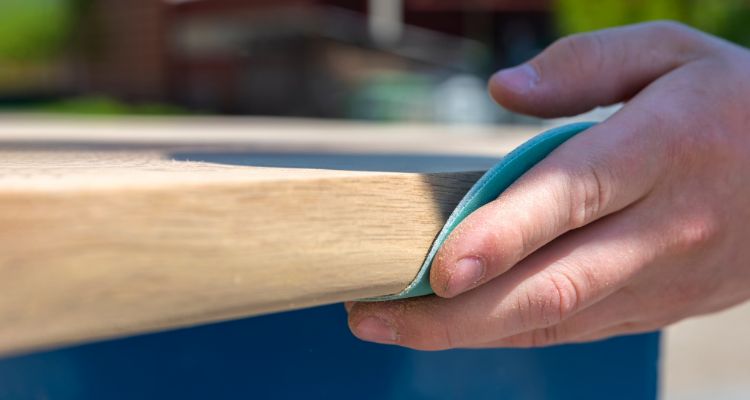
The wood surface can be smoothed down with sanding, producing a texture good for weatherproofing product adherence.
Materials Needed:
Procedure:
Why Sanding is Crucial: Sanding creates a consistent surface for the weatherproofing product to adhere to by removing surface defects and opening up the wood pores. Additionally, it encourages greater treatment coverage and absorption.
Step 3: Patching Holes or Cracks
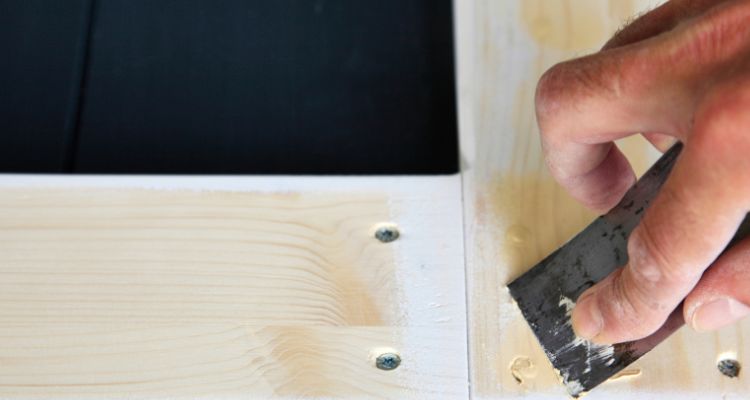
When holes or cracks in the wood are filled, moisture is kept out, and weatherproofing materials are applied more evenly.
Materials Needed:
Procedure:
Choose a suitable epoxy or wood filler depending on the size of the fractures or gaps.
Using a putty knife, liberally spread the filler over the flaws, making sure to fill them thoroughly.
Follow the manufacturer's instructions for drying the filler.
Use fine-grit sandpaper to smooth down the filled areas so they mix in with the surrounding wood.
Use a moist cloth or a brush to remove any sanding dust.
Why Filling is Crucial: Gaps and cracks should be sealed to stop water infiltration, which can cause wood to rot or deteriorate. It also produces a surface that is more homogeneous and aesthetically pleasing.
A crucial step in assuring the effectiveness and durability of any weatherproofing process is properly prepping wood surfaces by cleaning, sanding, and sealing gaps or cracks.
In addition to improving the beauty of the wood, these procedures also lay a solid basis for weatherproofing solutions to cling to, thereby defending your wood surfaces from the elements and increasing their lifespan.
Applying the protective agent is a key next stage in the weatherproofing procedure after properly preparing your wood surface. To ensure that your wood is adequately protected against the elements, applying stain, sealer, or paint evenly and completely is crucial.
We'll walk you through the process of applying weatherproofing products in this tutorial, along with the tools and methods we think will help you do it successfully.
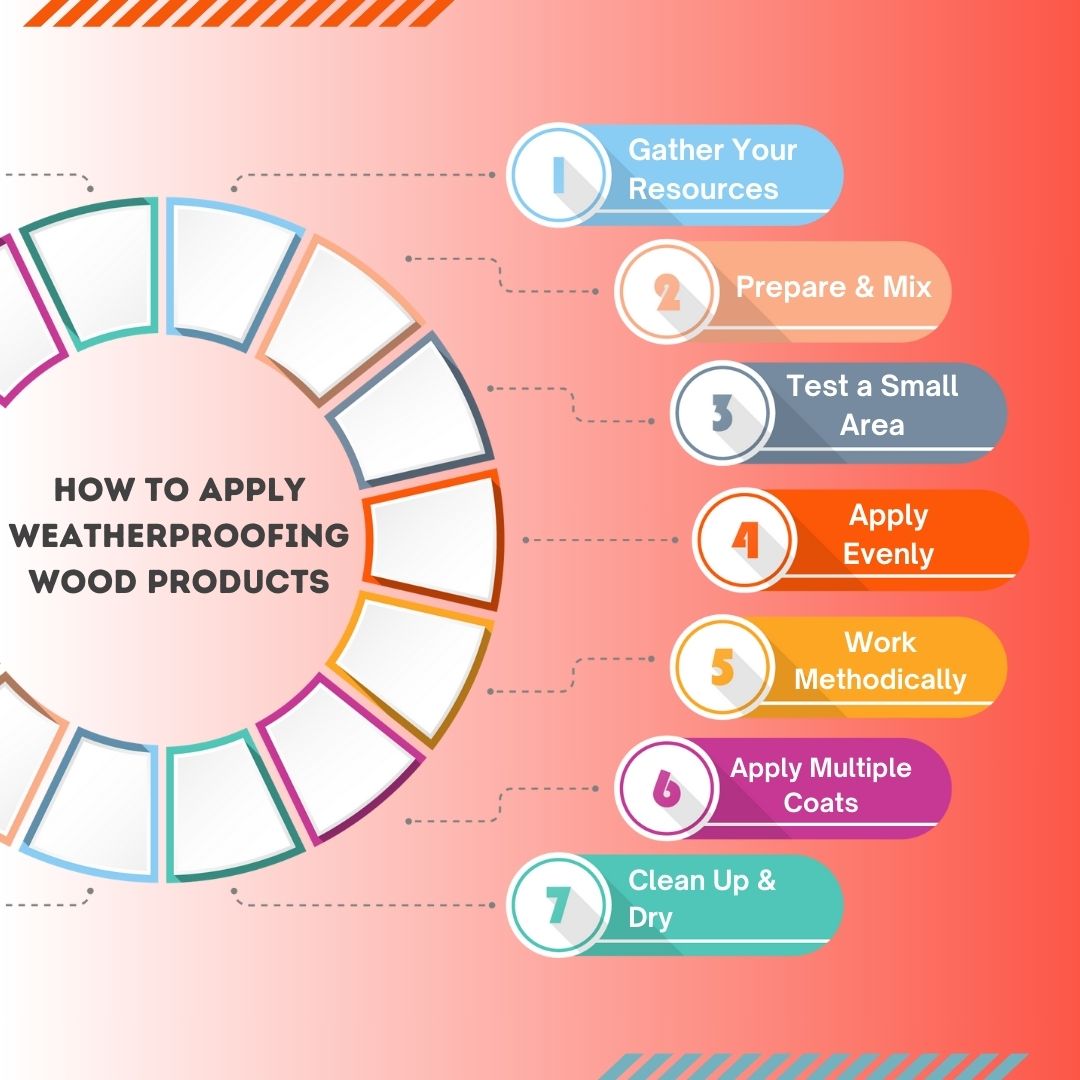
Ensure you have all the required supplies and tools before you start. The precise tools may vary depending on the kind of weatherproofing product you're using. However, the following are some standard tools you'll need:
Weatherproofing product (stain, sealant, or paint)
If mixing is necessary for your weatherproofing product, follow the manufacturer's recommendations carefully. Some stains and sealants may require vigorous stirring to ensure an even application. A vigorous shake could cause air bubbles to enter the can.
With a test area first, It's a good idea to test the weatherproofing solution on a tiny, discrete area before using it on the full surface. This enables you to evaluate the wood's color, consistency, and absorbency.
Depending on the kind of weatherproofing product you're using, the application technique will vary:
Brushes: For fine control and smaller projects, brushes are perfect. Use even, lengthy strokes while adhering to the wood's grain. Work in manageable chunks to keep a wet edge and avoid lap marks, usually a few boards at a time.
Rollers: For larger surfaces, paint rollers work well. For smooth surfaces, choose a roller with a short nap; for rough wood, choose a roller with a longer nap. Apply even pressure as you roll in the wood's grain direction.
Sprayers: Sprayers offer quick and even coverage, but using them correctly is more challenging to prevent overspray. According to the manufacturer's recommendations, adjust the nozzle and pressure settings.
Maintain a constant spacing between the nozzle and the wood's surface while continuing the overlapping process.
To ensure even coverage and a professional finish, work methodically and avoid rushing:
Some weatherproofing materials may need several coatings for adequate protection. Regarding the intervals between applications of drying, according to the product's recommendations. Usually, a second coat can be used when the first coat has completely dried.
Brushes, rollers, and sprayers should be disposed of in accordance with the product's instructions. Use the proper cleaning solutions to give your tools a thorough cleaning. Painter's tape should be removed when it is still just a little tacky to prevent peeling.
In accordance with the manufacturer's instructions, let the weatherproofing product dry completely after application. This step is essential to guarantee that the product seals and preserves the wood efficiently.
Your wood surfaces must be properly treated with weatherproofing materials to protect them from the elements and increase their longevity.
You may get an even application and full coverage by following these instructions and employing the suggested tools and methods, ensuring that your wood is well-preserved and attractive for many years to come.
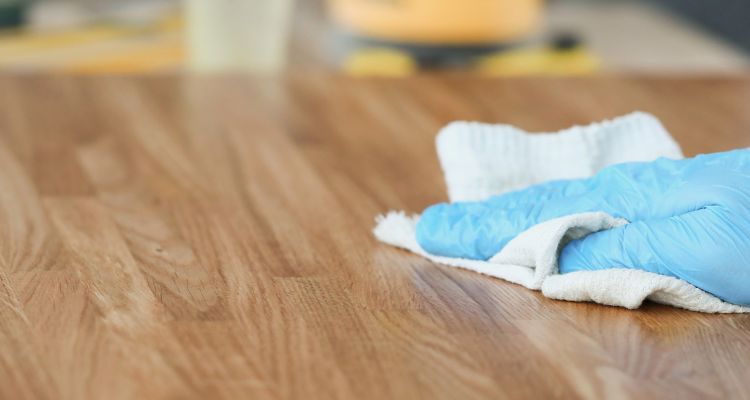
A crucial first step in shielding your wood surfaces from the outdoors is to apply weatherproofing materials to them. However, regular maintenance and recoating are necessary to guarantee long-lasting wood protection.
We'll discuss the significance of routine maintenance in this section and offer a suggested plan and best practices to assist you in preserving the aesthetic appeal and structural integrity of your wood over time.
The Importance of Ongoing Maintenance and Recoating:
Outdoor-exposed wood surfaces are susceptible to deterioration from the sun, rain, and temperature changes. Weatherproofing materials can degrade or wear away over time, leaving the wood open to harm.
Here are some reasons why regular upkeep and recoating are essential:
Preserve Protection: Due to exposure to UV radiation and environmental conditions, weatherproofing products eventually lose their effectiveness. Recoats restore the protective layer, extending the life of the wood.
Prevents Wood Decay: By doing routine maintenance, you may identify and take care of any indications of wood decay, such as rot or mold, before they become severe and expensive issues.
Maintains Aesthetic Appeal: Recoating works to keep the color and aesthetic appeal of the wood by avoiding fading, peeling, and cracking.
Saves Time and Money: Performing routine maintenance and recoating is less time-consuming and labor-intensive than waiting for the wood to decay and then having to make pricey repairs or replacements.
For your wood surfaces to remain protected and beautiful over time, routine upkeep and recoating are necessary.
You may appreciate the natural beauty of your wood while prolonging its lifespan and lowering repair expenses by following a well-planned care regimen and abiding by best practices. Your wood surfaces will continue to look their best for many years with proper maintenance.
The weatherproofing techniques you use and the level of maintenance necessary are greatly influenced by the sort of wood you're working with.
Different varieties of wood, including hardwood, softwood, and cedar, have unique properties that influence how they react to exposure to the elements and the efficacy of protective treatments.
This section will cover specific recommendations for weatherproofing each type of wood.
Hardwood Weatherproofing:
Hardwood is renowned for its sturdiness and built-in resistance to deterioration, including oak, teak, and mahogany. It still needs to be properly weatherproofed, though, in order to preserve its longevity and look.
Staining: Transparent or semi-transparent stains can sometimes be used to highlight the natural beauty of hardwood. The color of the wood is notably well-preserved with UV-protective stains.
Sealing: To stop moisture intrusion, use a superior, penetrating sealer. Sealers should be reapplied every two to three years or as necessary.
Maintenance: It's essential to clean and inspect your home often. Hardwood is less likely to splinter because of its solidity, but you should still sand and fix cracks as necessary.
Softwood Weatherproofing:
Softwood, such as pine, cedar, or spruce, is more prone to deterioration and the elements. To increase its lifespan, proper protection is necessary.
Staining: Solid or semi-transparent stains offer superior protection for softwood when staining. To avoid fading, pick a stain that is UV-resistant.
Sealing: Use a transparent sealer or water-repellent preservative to seal softwood. By doing this, wood deterioration and moisture absorption are reduced.
Maintenance: Softwood needs to be maintained more frequently. Every 1-2 years, recoat with stain or sealer, and periodically check for deterioration, especially in places where moisture is a problem.
Cedar Weatherproofing:
Because of its inherent resistance to insects and rot, cedar is a popular choice, but it still needs proper maintenance to keep looking good.
Staining: Transparent or semi-transparent stains can highlight cedar's distinctive grain and color. The natural beauty of the wood may be seen through these stains.
Sealing: Cedar naturally resists decay due to its natural oils, but sealing can help it last longer. For further protection, use a clear sealant or a cedar-specific sealant.
Maintenance: Compared to other softwoods, cedar often needs less upkeep. Recoat as needed every two to three years and conduct routine inspections to catch any problems early.
The methods of weatherproofing and upkeep required depend on the sort of wood you're working with. Each type of wood—hardwood, softwood, and cedar—has distinct qualities that influence how they react to exposure to the elements and protective measures.
You can make sure that your wood surfaces remain safe, lovely, and long-lasting by adapting your weatherproofing strategy to the particular wood type.
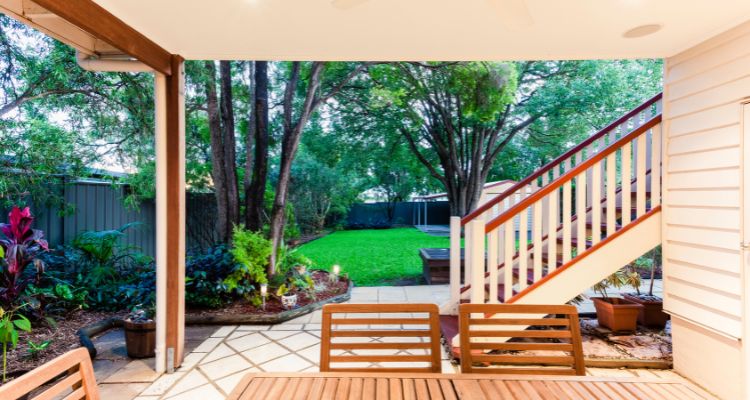
Whether wood is used indoors or outside, weatherproofing is necessary to maintain its beauty and toughness. Nevertheless, the method for weatherproofing a wood surface differs based on its location and use.
Let us now discuss the main distinctions between weatherproofing indoor and outdoor wood and provide advice on how to safeguard decks, furniture, and other inside wood surfaces.
Select the Best Products: Use weatherproofing materials appropriate for the type of wood being used and the location (inside or outside).
Correct Surface Preparation: Before using protective treatments, clean, sand, and make any necessary repairs to wood surfaces.
Continual Inspections: Occasionally look for wear, damage, or weathering on wood surfaces. Address problems as soon as possible to avoid substantial harm.
Climate considerations: Make your product selections and maintenance schedule in accordance with the regional climate and weather patterns.
Specific requirements and factors must be considered whether wood is weatherproofed indoors or out. Decks and outdoor furniture made of wood need to be well-protected from the elements and maintained regularly.
Protecting furniture and interior surfaces made of indoor wood requires preventative measures and delicate maintenance to preserve their aesthetic value and usability.
You can guarantee the enduring beauty and durability of your wood surfaces inside and outside of your home by being aware of these distinctions and using the appropriate techniques.
The demand for green weatherproofing solutions that safeguard wood surfaces while avoiding environmental impact rises along with environmental consciousness.
The emphasis of this section will be on ecologically responsible decisions that support good stewardship of the environment.
We will discuss non-toxic coatings and sustainable wood treatments as examples of environmentally friendly weatherproofing options.
Non-Toxic Wood Finishes:
Plant-Based Stains:
Sustainable Wood Treatments:
Eco-Friendly Application Practices:
Low VOC materials: To reduce air pollution and safeguard interior air quality, choose environmentally friendly weatherproofing materials that contain few or no volatile organic
Proper Disposal: Comply with local disposal regulations while getting rid of any leftover or old weatherproofing supplies and containers.
Reuse and recycling: Instead of replacing wood surfaces, consider refinishing or recycling them whenever possible. Wood may be reused and recycled to reduce waste and conserve resources.
Local and Sustainable Sourcing: To reduce environmental impact and promote ethical forestry practices, choose wood products that are locally and sustainably sourced.
Eco-friendly weatherproofing solutions provide a responsible way to protect wood surfaces while causing the least amount of environmental harm. You can take advantage of the benefits of weatherproofed wood without compromising your adherence to ecological responsibility by selecting non-toxic coatings and sustainable wood treatments.
These decisions help create a more environmentally friendly and sustainable future while also protecting your wood.
In conclusion, let us summarize the answer to your question of how to weatherproof wood., Proper wood weatherproofing is not just a protective measure; it's a commitment to preserving the beauty and functionality of your wood surfaces.
Weatherproofing extends the lifespan of wood surfaces by shielding wood from moisture, UV rays, and other elements. This ensures their durability and reduces the need for costly repairs or replacements in the future.
So, whether it's an outdoor deck, furniture, or interior wood features, remember that investing in weatherproofing today is an investment in your wood's lasting charm and strength for years to come.