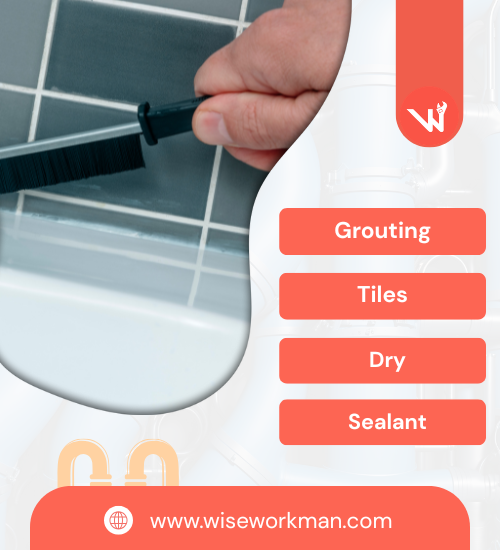
Grout - it's the unsung hero of your tiled surfaces, quietly doing its job, filling gaps, and adding that finished look to your tile work.
But did you know that sealing your grout is just as important as choosing the right type of grout for your project?
Yes, you heard it right! Sealing grout is a crucial step that often gets overlooked, yet it can make a significant difference in the longevity and appearance of your tile work.
It's not just about aesthetics; it's about protecting your investment and ensuring your tiled surfaces stand the test of time.
From understanding the importance of grout sealing, and exploring the various types of sealants, to learning how to seal a grout, this article will be your comprehensive guide.
Key Takeaways
- Understanding different types of grout sealants, including spray-on, brush-on, and penetrating sealers, to choose the most suitable option based on requirements and preferences.
- Pre-sealing preparation, such as ensuring the grout is thoroughly dry and cleaning it meticulously, is essential for achieving optimal sealing results.
- The sealing process involves applying the sealant, allowing it to dry completely, and testing its effectiveness.
- Avoid mistakes like inadequate cleaning, insufficient drying time, and skipping the testing phase.
- Post-sealing care, such as implementing regular cleaning routines, conducting maintenance tasks, and knowing when to re-seal the grout contributes to the life of the sealed grout and maintaining its pristine condition.
3 Types of Grout Sealants
- Spray-on Sealers
- Brush-on Sealers
- Penetrating Sealers
When it comes to grout sealants, there's more than meets the eye. They come in various types, each with its unique properties, advantages, and disadvantages. Understanding these differences is key to choosing the best grout sealer for your specific needs.
Let's delve into the three main types of grout sealants: Spray-on sealers, Brush-on sealers, and Penetrating sealers.
1. Spray-on Sealers
Spray-on sealers, as the name suggests, are applied using a spray bottle. This method is quick and easy, making it a popular choice for large areas. The sealer is sprayed directly onto the grout lines and then wiped off the tile surface.

The main advantage of spray-on sealers is their ease of application. However, they may not provide as deep a seal as other types, and overspray can lead to a messy application if not carefully managed.
2. Brush-on Sealers
Brush-on sealers are applied with a brush or roller, offering more control during application. This type of sealer is excellent for precision tasks, such as sealing grout lines between delicate tiles.
The brush-on method allows for a thicker, more concentrated application, which can provide a more durable seal. The downside? It can be more time-consuming than spray-on methods, especially for larger areas.
3. Penetrating Sealers
Penetrating sealers, also known as impregnating sealers, penetrate the grout to provide a deep, robust seal. These sealers are often the go-to choice for areas exposed to high moisture, such as showers and outdoor installations.
They come in two types: oleophobic, which repels oil and liquids, and hydrophobic, which repels water.
While penetrating sealers offer excellent protection, they can be more challenging to apply and may change the grout's appearance.
Tools and Materials Needed
- Tools for Grout Sealing
- Materials for Grout Sealing
Sealing grout is a task that requires the right tools and materials. Having everything you need at hand not only makes the job easier but also ensures a more professional finish.
Tools for Grout Sealing

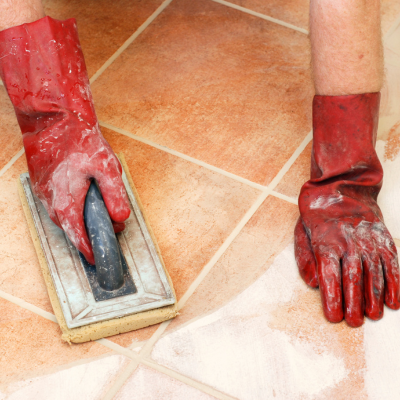
When it comes to tools, there are a few essentials that you'll need. A grout brush or an old toothbrush is a must-have for cleaning the grout before sealing.
This helps to remove any dirt or grime that could interfere with the sealing process. You'll also need a brush, foam sponge, or roller for applying the sealer. The choice between these depends on the type of sealer you're using and the size of the area you're working on.
For instance, a brush might be more suitable for small, intricate areas, while a roller could be more efficient for larger surfaces.
Lastly, you'll need some cotton rags or microfiber towels for wiping off any excess sealer and for cleaning up after the job is done.
Materials for Grout Sealing
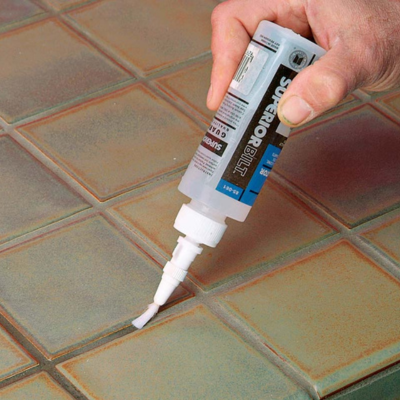
As for materials, the most crucial one is, of course, the grout sealer itself. The type of sealer you choose will depend on the type of grout you're working with and the specific requirements of your project, as we discussed in the previous section.
You'll also need a grout cleaner to thoroughly clean the grout before sealing. This ensures that the sealer can properly adhere to the grout.
Lastly, you might need some painter's tape to protect the surrounding tiles from the sealer, especially if you're working with a spray-on sealer.
Pre-Sealing Preparation
- Drying the Grout
- Cleaning the Grout
Before you start sealing your grout, there are two important steps you need to take to ensure the best possible outcome.
1. Drying the Grout
The first step in preparing your grout for sealing is to make sure it's completely dry. This is crucial because any trapped moisture can prevent the sealer from adhering properly to the grout.
If you've recently installed new grout, check the manufacturer's instructions to see how long it will take to fully cure. If you're working with existing grout, make sure it's thoroughly dry before you start the sealing process.
This might mean waiting a few days after cleaning the grout to ensure any moisture has had a chance to evaporate.
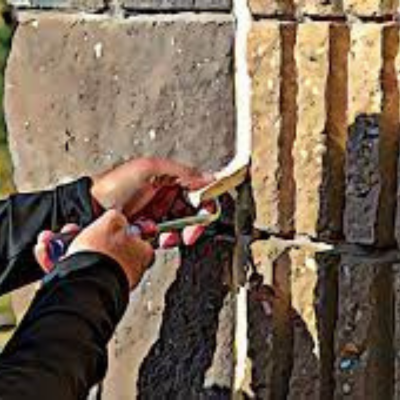
2. Cleaning the Grout

Once your grout is dry, the next step is to clean it. This is important because dirt, grime, or stains can prevent the sealer from penetrating the grout effectively.
To clean your grout, you can use a toothbrush and soapy water, or a 50-50 vinegar and warm water solution for tougher stains. Scrub the grout lines carefully to remove any dirt or grime, then rinse thoroughly and allow the grout to dry.
If your grout has any cracks or damage, these should be repaired before sealing.
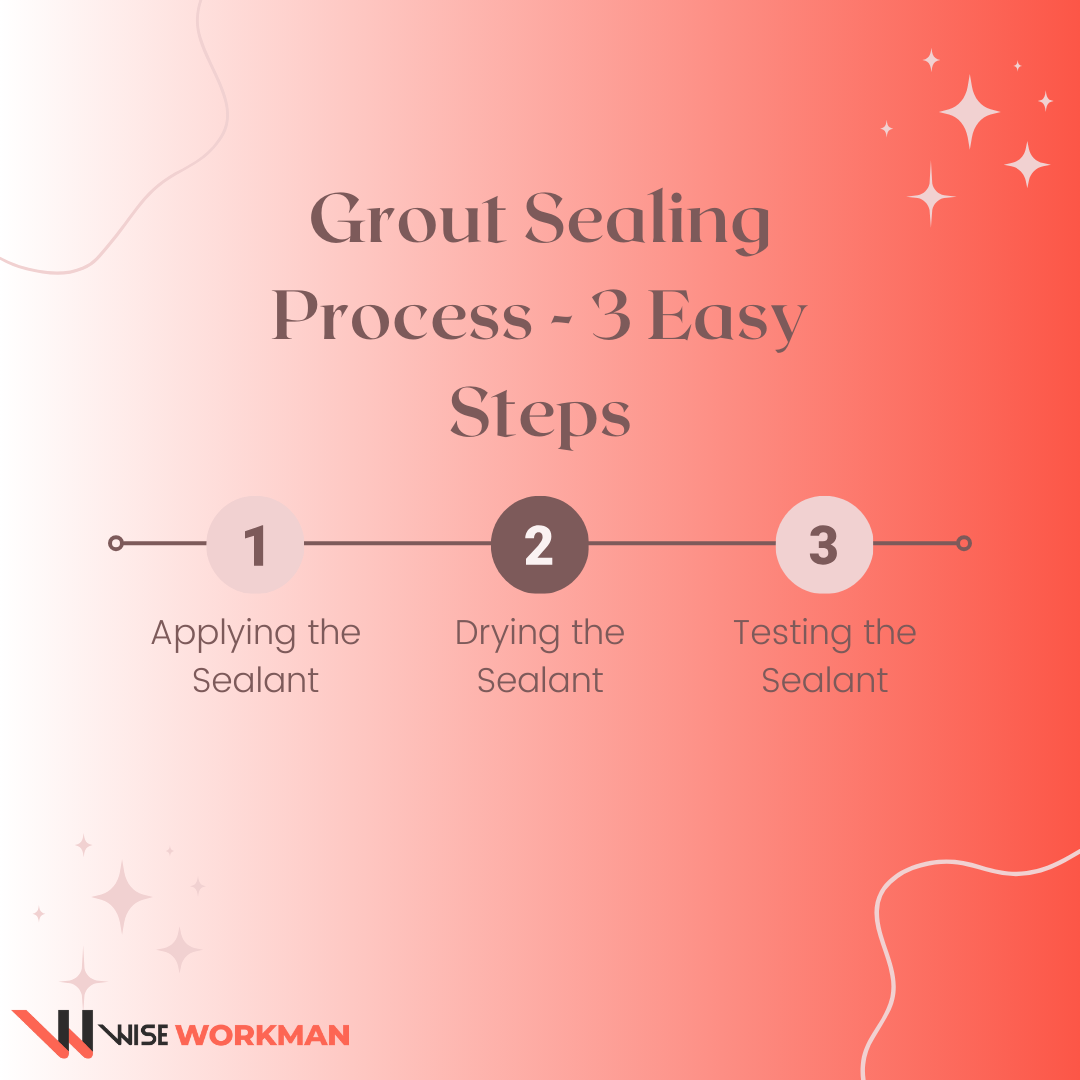
The 3-Step Process of Grout Sealing
Sealing grout is a straightforward process, but it requires careful attention to detail to ensure a successful outcome.
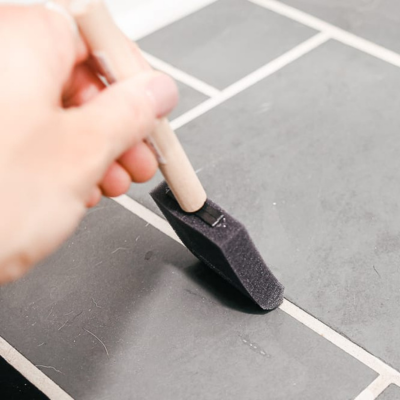
1. Applying the Sealant
The first step in the grout sealing process is applying the sealant. Start by shaking the sealer bottle well to ensure the contents are thoroughly mixed.
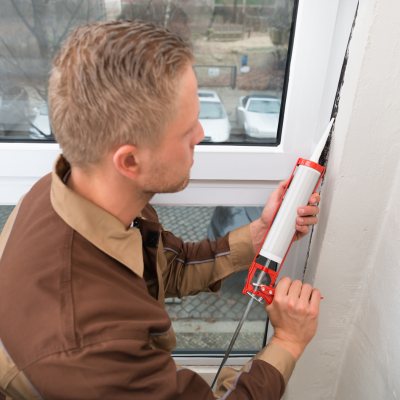
Then, using a brush, sponge, or small roller, apply the sealer directly onto the grout lines. Be sure to cover the grout lines evenly, taking care not to leave any gaps. If you're using a spray-on sealer, remember to protect the surrounding tiles with painter's tape to prevent overspray.
Once you've applied the sealer, wait for about 10 minutes to allow it to penetrate the grout.
2. Drying the Sealant
After applying the sealer, it's essential to let it dry thoroughly. The drying time can vary depending on the type of sealer you're using, but generally, you should allow at least 24 hours for the sealer to dry.
During this time, avoid walking on the floor or using the tiled surface to ensure the sealer cures properly. Remember, rushing this step can compromise the effectiveness of the sealer, so patience is key here.
3. Testing the Sealant
Once the sealer has dried, it's time to test its effectiveness. To do this, sprinkle a few drops of water onto the sealed grout.
If the sealer has been applied correctly, the water should bead up on the surface. If the water is absorbed into the grout, it means the sealer hasn't fully penetrated the grout, and you may need to apply another coat.
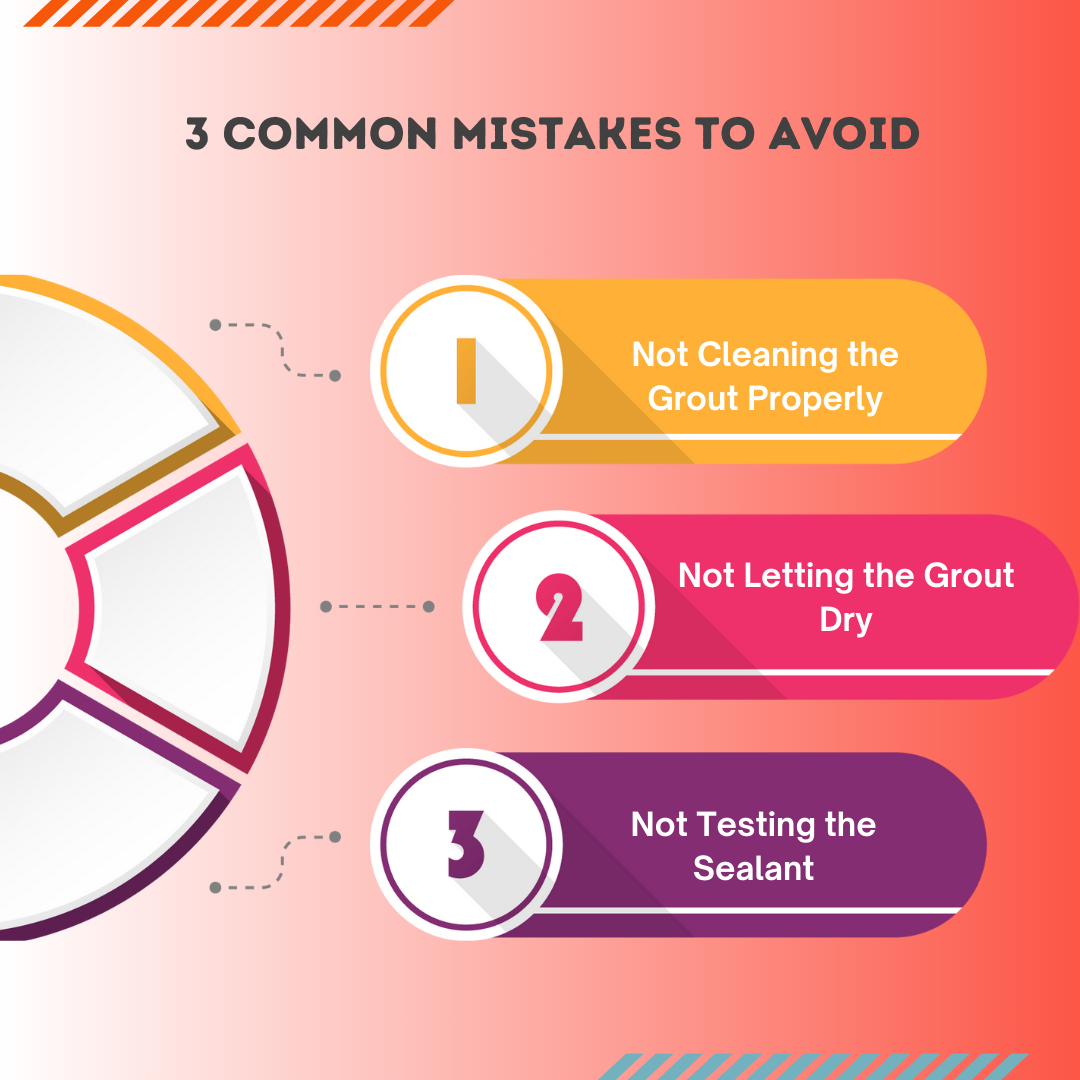
3 Common Mistakes to Avoid
While sealing grout is a straightforward process, there are a few common mistakes that can hinder the effectiveness of the sealant and the overall appearance of your tiled surface.
Mistake 1: Not Cleaning the Grout Properly
One of the most common mistakes people make when sealing grout is not cleaning it properly beforehand. Any dirt, grime, or stains on the grout can prevent the sealer from adhering properly, resulting in an uneven finish and potentially reducing the effectiveness of the sealant.
To avoid this, make sure to thoroughly clean your grout before sealing, using a grout cleaner and a brush to scrub the grout lines.
Mistake 2: Not Letting the Grout Dry
Another common mistake is not allowing the grout to dry fully before applying the sealer. As we discussed earlier, any trapped moisture can prevent the sealer from adhering properly to the grout.
If you've recently cleaned your grout, make sure to wait a few days to ensure it's completely dry before you start the sealing process.
Mistake 3: Not Testing the Sealant
Finally, many people forget to test the sealant after it has dried. This is an important step because it allows you to check whether the sealer has been applied correctly and is working as it should.
To test the sealant, sprinkle a few drops of water onto the sealed grout. If the water beads up on the surface, the sealer is working correctly. If the water is absorbed into the grout, you may need to apply another coat of sealer.
Post-Sealing Care
- Cleaning Sealed Grout
- Regular Maintenance
- When to Re-Seal

After the grout sealing process, it's essential to know how to maintain and care for your sealed grout to ensure its longevity and keep your tiled surfaces looking their best. This involves regular cleaning, maintenance, and knowing when it's time to re-seal.
1. Cleaning Sealed Grout
Cleaning sealed grout is a crucial part of post-sealing care. However, it's important to clean it without damaging the sealant.
For daily cleaning, use a microfiber cloth to sweep the surface and remove any loose dirt or dust. For a deeper clean, you can create a homemade cleaning solution by mixing equal parts baking soda and white vinegar into a paste.
Apply this paste to the grout, let it sit for 5-10 minutes, then scrub with a toothbrush and rinse with warm water. This method is gentle on the sealant but effective in removing grime.
2. Regular Maintenance
Regular maintenance is key to keeping your sealed grout in good condition. This includes a daily wiping-and-spraying routine after your bath or shower to prevent premature staining and damage.
Weekly mopping with a neutral pH cleaner is also recommended. For high-traffic areas, you may need to scrub the grout regularly to keep it looking its best.
3. When to Re-Seal
Knowing when to re-seal your grout is another important aspect of post-sealing care. Over time, the sealant can wear off, especially in high-traffic areas or places exposed to a lot of water, like showers.
A simple way to test if your grout needs re-sealing is to sprinkle a few drops of water onto the grout. If the water is absorbed, it's time to re-seal. If the water beads up, your sealant is still working effectively.
Frequently Asked Questions
Can I use the same sealant for grout and tiles?
While some sealants are designed to work on both tiles and grout, it's always best to check the product specifications. Some sealants may not adhere well to certain types of tiles, so it's important to use a product that's suitable for both your tiles and grout to ensure the best protection.
How often should I re-seal my grout?
The frequency of re-sealing can depend on several factors, including the type of sealant used, the area's usage, and the cleaning products used on the surface. However, a general rule of thumb is to re-seal your grout every 1-2 years.
Can I seal grout in outdoor areas?
Yes, you can seal grout in outdoor areas. It's highly recommended, especially in areas exposed to weather elements. Outdoor grout sealing can protect against moisture, dirt, and stains, and prevent the growth of mold and mildew.
What happens if I don't seal my grout?
Unsealed grout can absorb water, dirt, and stains, which can lead to discoloration and degradation over time. It can also become a breeding ground for mold and mildew, especially in damp areas like bathrooms and kitchens.
Can I seal the grout myself, or should I hire a professional?
Grout sealing is a task that can be done by a DIY enthusiast with the right tools and materials. However, if you're not comfortable doing it yourself or if the area to be sealed is large or complex, it might be worth hiring a professional to ensure the job is done correctly and efficiently.
Conclusion
In conclusion, grout sealing is a vital process to protect your tiled surfaces and enhance their longevity. From understanding the different types of grout sealants and their applications to knowing the essential tools and materials needed for the job, each step is crucial.
Pre-sealing preparation, including proper cleaning and drying of the grout, sets the stage for a successful sealing process.
The step-by-step guide to applying, drying, and testing the sealant provides a clear path to achieving a professional finish. Avoiding common mistakes ensures the effectiveness of the sealant and prevents potential damage.
Finally, post-sealing care, including regular cleaning and maintenance, helps preserve the sealed grout and keep it looking its best. By following these guidelines, you can master the art of grout sealing and maintain the beauty and durability of your tiled surfaces.