How to Install Cabinet Handles? A DIY Guide
 Author: Howard Griner | Updated on March 6, 2024 Author: Howard Griner | Updated on March 6, 2024
Are you looking to replace or mount new cabinet handles in your kitchen cupboards but interested in learning how to install cabinet handles?
In this blog, we'll break down the procedure into 6 simple steps with a DIY to follow.
Cabinet handles seem like a small thing but they play an important in determining the look of the furniture you are renovating. Cabinet handles are made of different materials and shapes. The type you use adds a design statement to your kitchen or bathroom cabinets.
Using handles or knobs for cabinets ensures that you have a stronger grip of the door. So the next time you are in the kitchen collecting ingredients from the cabinets, you can do it with ease.
Understanding cabinet handle installation is key to carrying out the intricate project with ease. You will learn the materials and hardware required to prepare a toolkit for cabinet handle replacement.
Keep reading to find out the do’s and don’ts of cabinet handle installation!
While redecorating spaces, a lot of factors come into play to achieve a finished look. Focusing on cabinets alone is important as they make an important component of the kitchen or bathroom’s storage capacity. It determines how different styles of cabinet handles can transform the outlook of the space.
One of the most important reasons to install cabinet handles is the aim to reduce wear and tear to the cabinet. Given the frequency and the need for the use of cabinets round the clock, the cabinet doors are prone to damage without handles.
Cabinet knobs and handles save the cabinet’s surface material from fingerprints. In most cases, cabinets are being opened repeatedly to retrieve items. This can leave behind oil and dirt marks, directly smudging the surface of cabinets.
Cabinet handles and knobs are a great addition if you live with individuals with mobility issues who need constant help. Such handles increase accessibility and allow them to function independently.
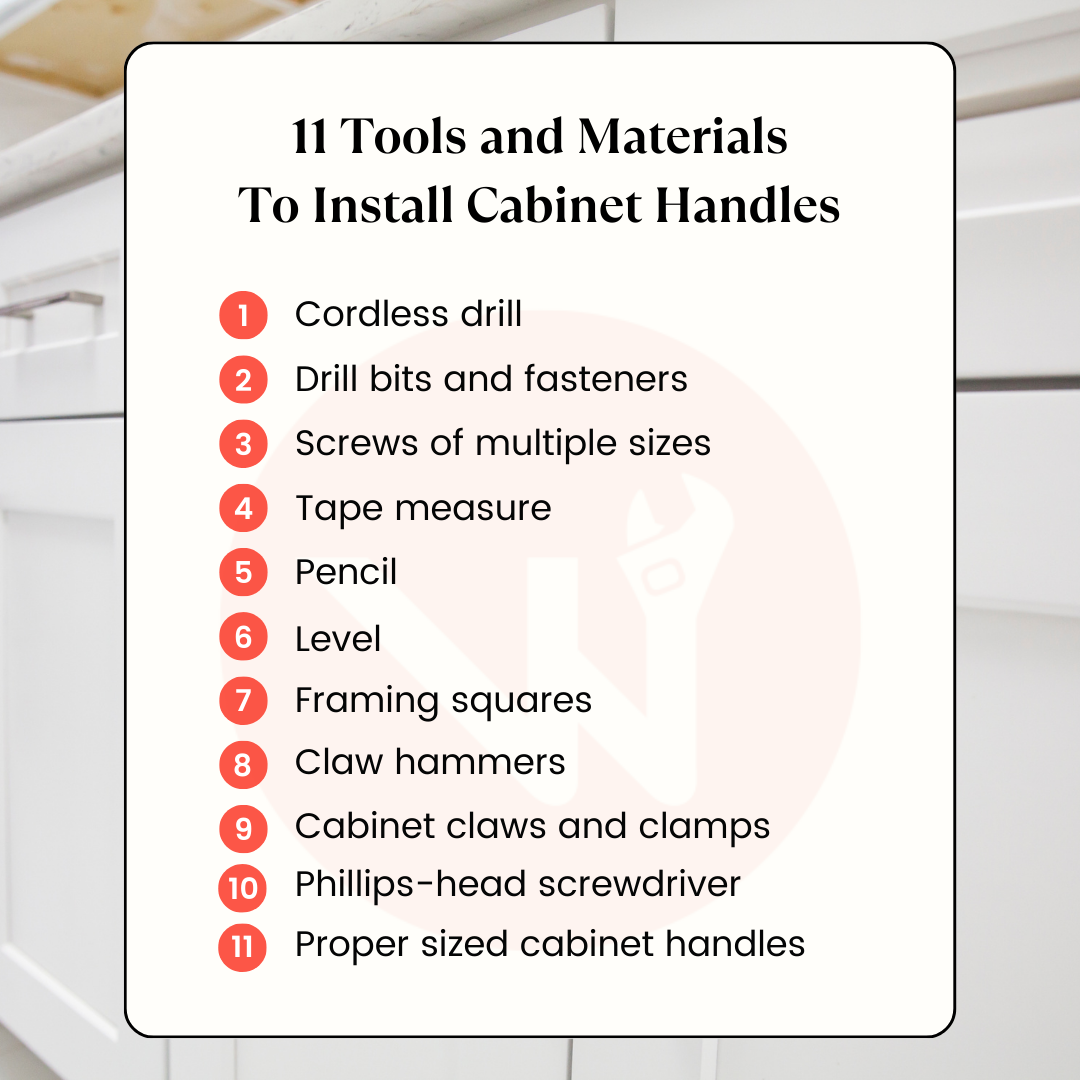
Without the essential tools for cabinet handle installation, you will not be able to carry out cabinet handle installation correctly. There will be a risk of damaging the cabinet hardware or installing the handles loosely, needing repeated repairs.
The must-have equipment and materials for easy cabinet handle installation include the following:
When you visit a hardware store to purchase cabinet handles for installation, you will come across a wide variety of handles and it may confuse you. Therefore, exploring and understanding cabinet handle varieties helps you to choose the right fit for the cabinets you have.
Before we learn the different types of cabinet handles, keep in mind that each has a unique installation technique depending on its shape and therefore, its mechanics.
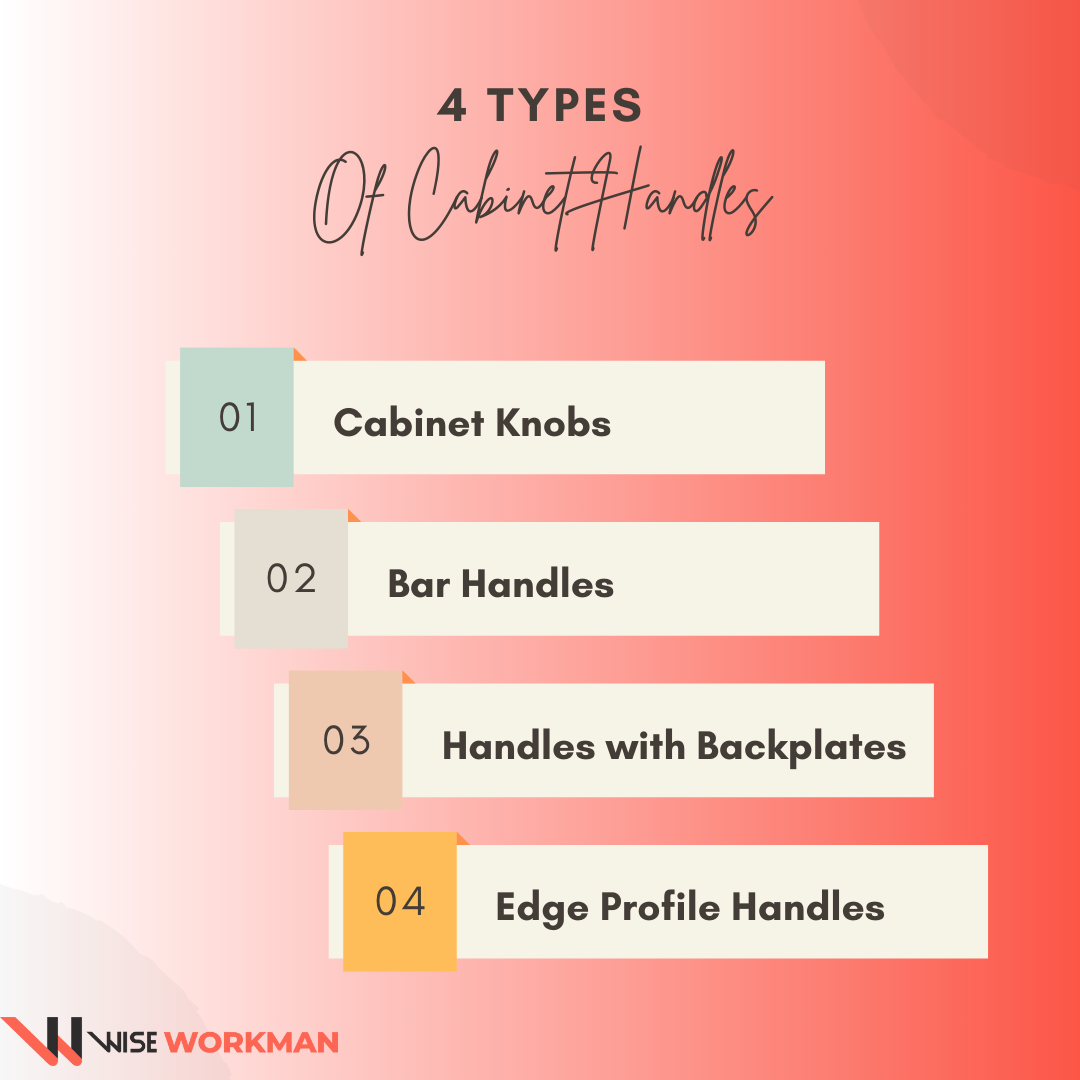
Let’s look at the top four cabinet handles that are people’s choice for their easy installation and versatility with cabinet doors.
Knobs are small, single-point cabinet handles that are typically circular or spherical, but can come in the shapes of flowers and animals. These vintage-style handles are easy to grasp and work well with both drawers and cabinet doors.
Although the installation is easy, as it involves a single screw through the front of the knob into the cabinet surface, it is not long-lasting. The screws and the knobs loosen over time.
Pull-out handles, alternatively known as bar handles, are elongated rectangular cabinet hardware that you can grip with your fingers. They come in various lengths and are easy to grab, such as bar pulls, cup pulls, or arch pulls. These are commonly preferred for their wide use with any type of cabinet doors, be it in the kitchen or bathrooms.
The installation technique for the classic bar handles involves two screws, with one at either end of the pull, securing it to the cabinet surface.
These add a decorative element to the cabinet hardware. It consists of a handle attached to a decorative backplate that covers a larger area on the cabinet surface. The backplate is secured separately to the cabinet with screws and then the handle is attached from the front.
This is a specific type of cabinet handle that is modern and gives the luxury of being integrated into the edge of the cabinet, rather than being a separate piece of hardware.
This handle style is also known as "finger pull," design and it offers a minimalist design. However, the installation is quite challenging as the handle groove is cut in the cabinet. It requires specialized skills and equipment to carve the cabinet yourself.
The first step in any installation project is knowing the hardware you are about to mount. Therefore, we recommend you to read through the manual or template and hang it nearby.
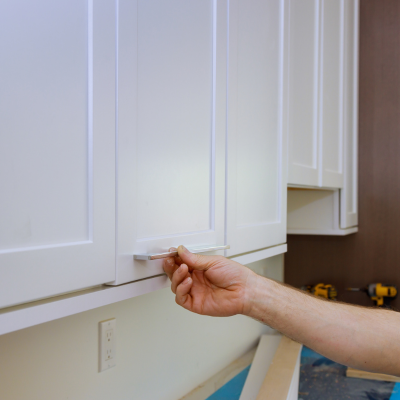
Next, you will first determine the ideal position for the cabinet handles. A common placement is to center the handle vertically on the cabinet door or drawer front.
For this, you will need a measuring tape and a pencil to mark the center point where the handle will be installed. Take accurate measurements from the side edge of the cabinet door.
For handles with two screws, measure the distance between the screw holes and mark each spot to be drilled into the cabinet door accordingly.
Choose an appropriately sized drill bit for the screws. Ensure that the drill bit is only slightly smaller in diameter than the screws so it fits well.
While drilling holes at the marked location, drill at perpendicular angles to the wall to achieve the correct depth. Use a depth stop on your drill if necessary for this purpose.
Once drilled, insert the screws provided with the handles through the back of the cabinet door. Then, use a screwdriver or a cordless drill to tighten the screws. Keep in mind that overtightening damages the cabinet doors.
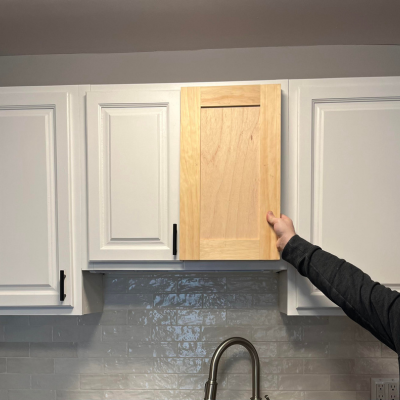
Before fully turning the screwdrivers, test to check that the handle is level and properly aligned.
Once you have tested the handle’s position and mechanics about the cabinet, securely tighten the screws until the handle is firmly attached.
Repeat the steps if you have multiple handles to install.
Our DIY guide to installing hardware on kitchen cabinets paired with a manual is perfect for beginners. However, this task can be too complex to follow accurately if you do not have adequate knowledge.
DIY projects require time and commitment to carry out the installation within a designated period. It may also be the case that you do not have any hardware to begin the installation process and investing in a toolkit is very costly.
In such cases, we recommend you hire a professional who can carry out the handle installation with the required skills. This installation guarantees quality assurance and durability as there are less likely to be any mistakes.
Achieving a sleek finish to the cabinet after handle installation is challenging, especially if you are a beginner or do not have a complete tool kit at home. Keep reading our guide as we offer some easy cabinet handle installation tips for precise installation.
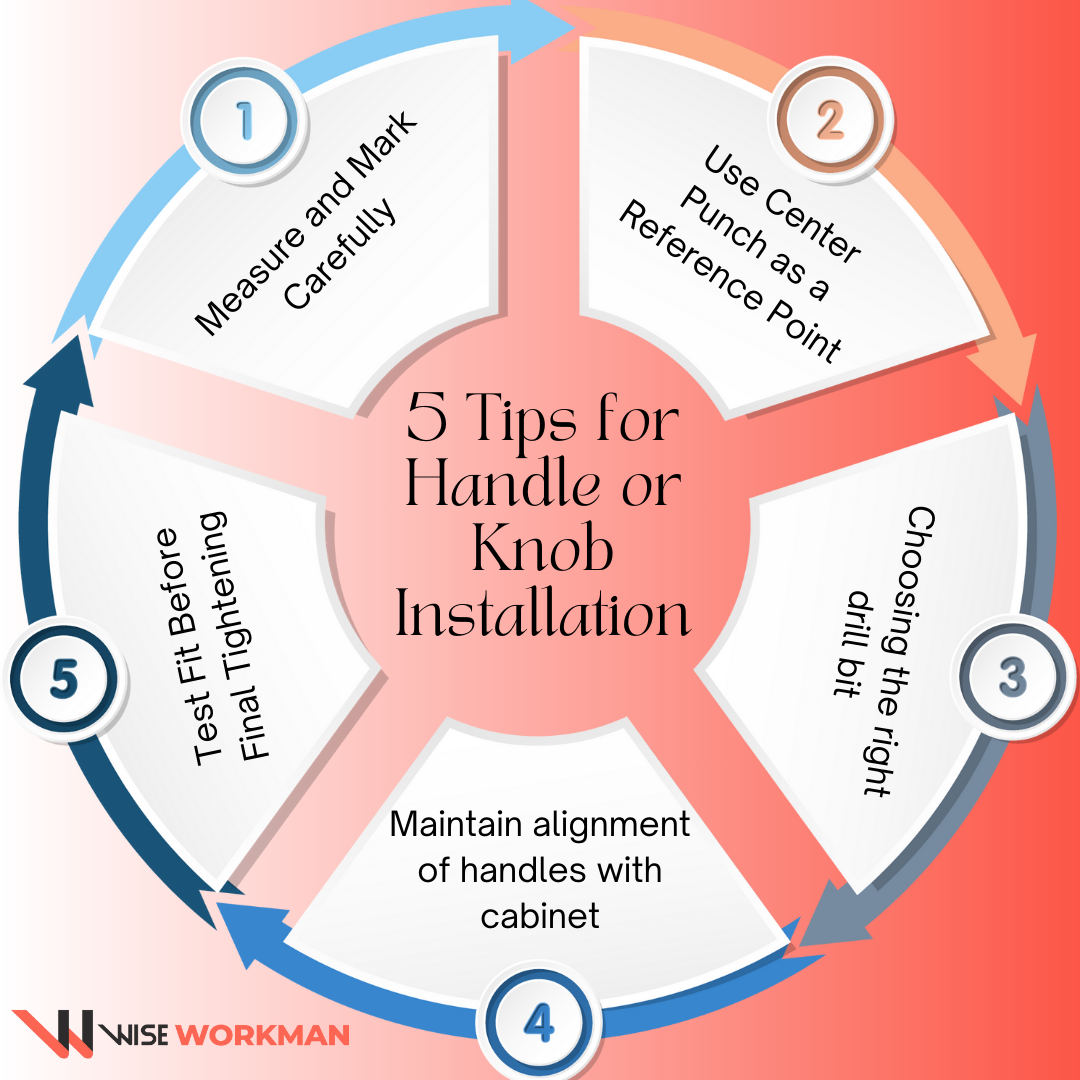
We know that an ideal placement of cabinet handles and knobs is not possible without an accurate measurement. Therefore, before starting the installation, use a tape measure and pencil to mark the exact spots where the hardware will be installed.
This ensures consistent spacing between handles and guarantees a uniform and balanced appearance.
An important part of achieving perfection in cabinet handles installation includes an accurate hole placement. So, before you drill holes in the cabinet, use a center punch to create a small indentation at the marked installation points. This will prevent the drill bit from wandering.
Selecting a drill bit that matches the size of the screws provided with your hardware is a task on its own. This means you should be looking for something that is slightly smaller in diameter than the screw and fits well.
For this, you should adjust the drill's depth and stop in between to ensure you do not drill too deep into the cabinet. This could save the cabinet’s material from permanent damage.
The drill has to be held perpendicular to the surface to create straight and clean holes. If you are installing pulls or handles with backplates, ensure that you align both the handle and backplate accurately to achieve a symmetrical look.
Before the final step of fully tightening the screws, insert the handle into the holes and try opening and closing the cabinet door repeatedly. This will allow you to adjust the position if necessary and save the extra step in case of misalignment of the hardware.
Since installing cabinet handles requires multiple steps that require accuracy, it is easy to see some pitfalls. Follow our guide so you can avoid cabinet handle installation errors.
Before you start, keep in mind that each type of cabinet handle offers a different aesthetic and feel. Given my inexperience with DIY cabinet handling installation projects, it is easy to get some things wrong.
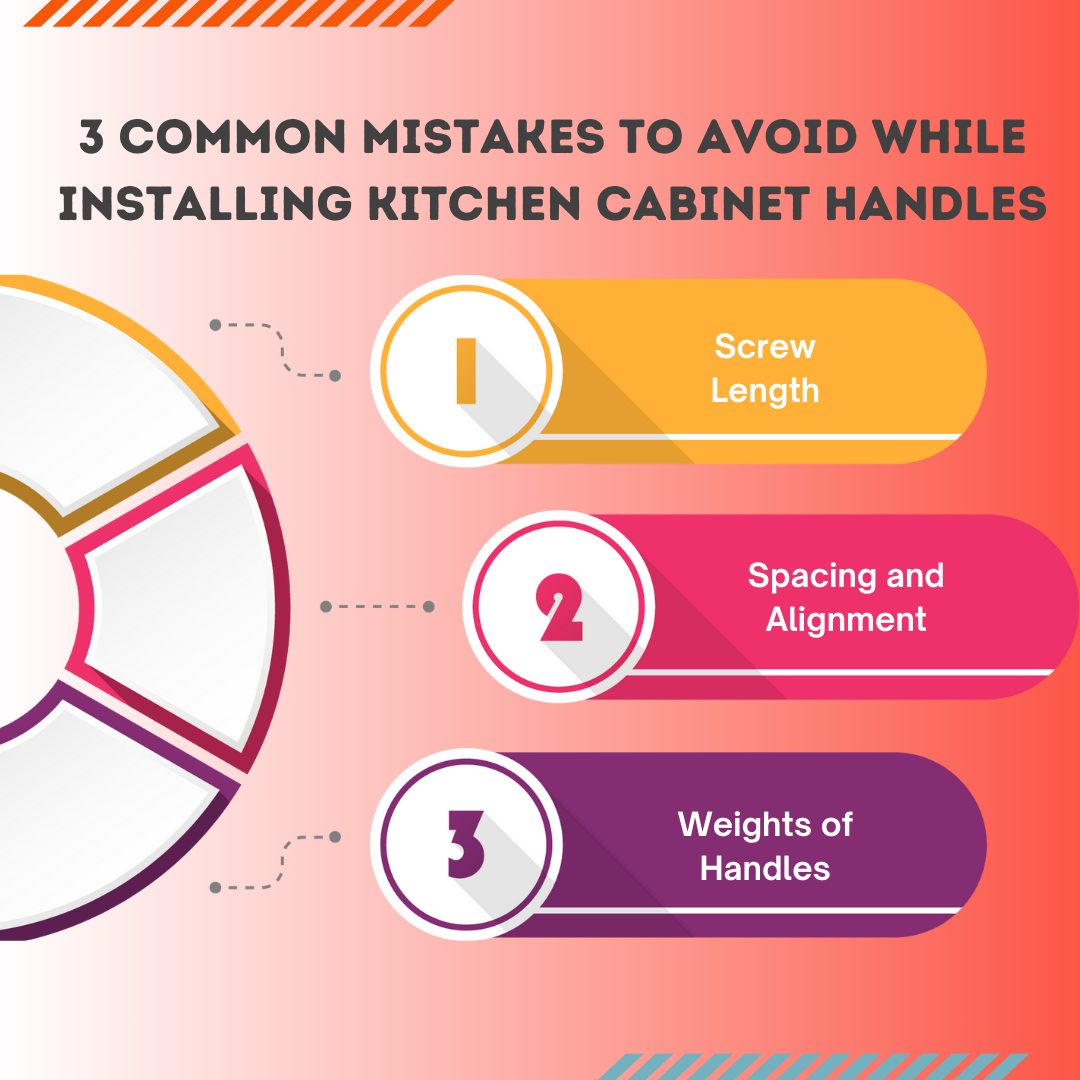
We have listed out the three most common mistakes so you can avoid them. Here’s what you should keep in mind:
The length of the screws varies depending on the thickness of the cabinet. It is therefore, common to choose one that is either too long or too short to hold the the knob in position.
Rushing through the process of mounting a handle can lead to misalignment. This can disturb uniformity and visual appeal.
It is natural to choose a handle that looks aesthetic and complements the finish of the kitchen or bathroom cabinets. While doing so, you might be ignoring the weight of the handles that the cabinet can support. This can lead to cabinet doors sagging over time with the weight.
Whether you are renovating kitchen cabinets or upgrading them, knowing how to install cabinet handles can save you a lot of bucks. You will no longer have to rely on professionals for minor replacements.
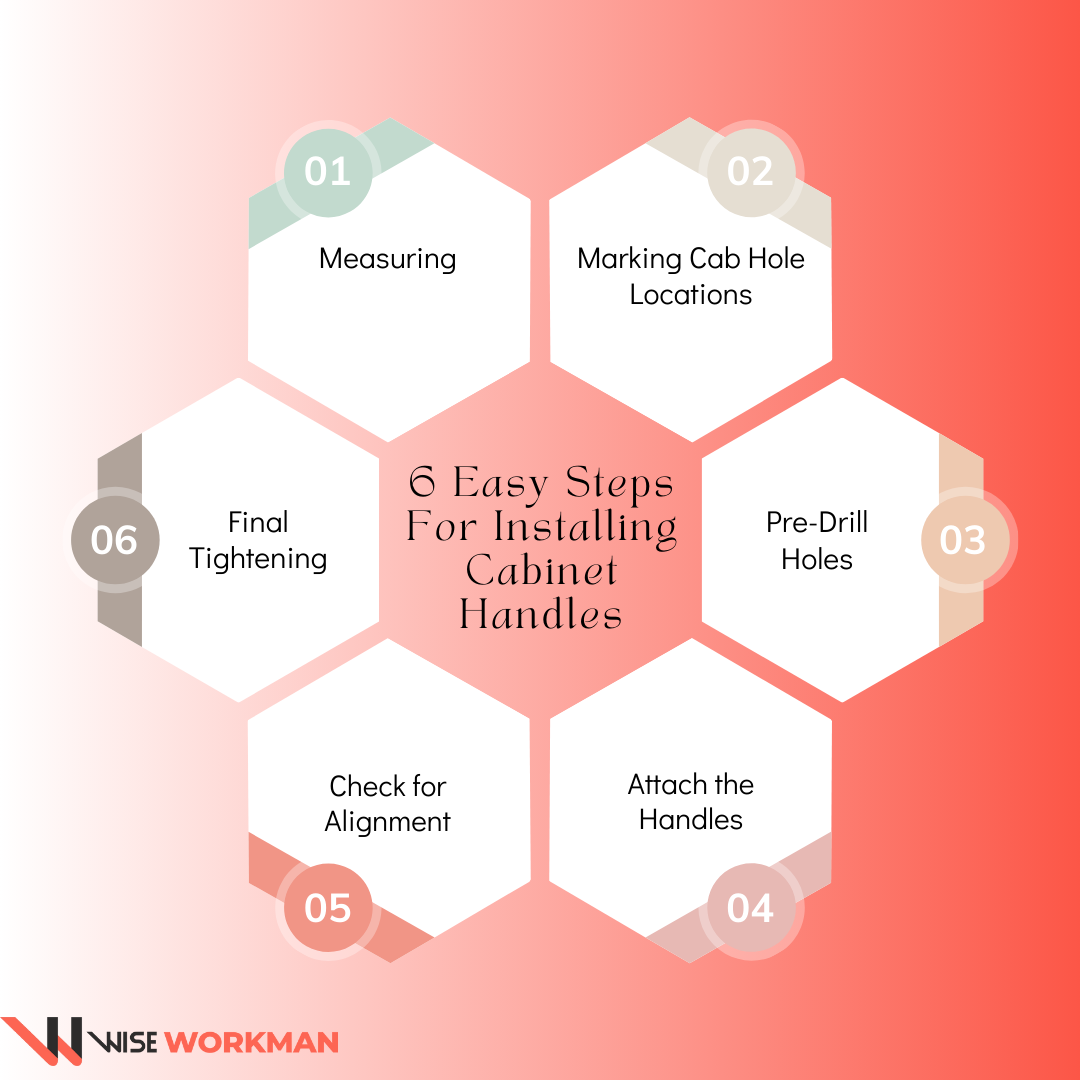
In this guide, we cover the steps of cabinet handle installation. A quick recap of handle installation includes measuring and marking drill holes for handle placement and choosing the right drill bits. Drill to correct depths and attach the handles with screwdrivers.
An important conclusion on cabinet handle installation is to never fully tighten the screws without testing the cabinet door and the handle’s movements about it.
It is a challenging task for a beginner taking up a DIY project, but if you follow our guide and the manual, you can avoid the common mistakes of handle installation.