How to Clean Walls With Flat Paint (Get Rid of Stains)
 Author: Howard Griner | Updated on December 3, 2023 Author: Howard Griner | Updated on December 3, 2023
Are you tired of dealing with stubborn stains on flat paint walls?
These can be a real pain to deal with, but worry not! You have landed on the right page.
If you want to keep the walls looking fresh and new, you need some level of understanding of cleaning and flat paint care. It requires a bit of finesse because this delicate surface can be easily damaged with the wrong techniques.
In this blog, you will learn how to prepare the wall for cleaning. This is a step-by-step guide for making your own mild detergent and correctly executing the cleaning technique. We share the best tips on getting rid of hard stains or usual from the walls.
What are you waiting for?
Let's dive in and discover the secrets to maintaining a flawless finish on flat paint walls!
Before we dive into the actual wall-cleaning process, you should know about the two crucial steps, dusting and vacuuming the walls and protecting adjacent walls. You might be wondering, why is this necessary.
Let’s learn how important these are!
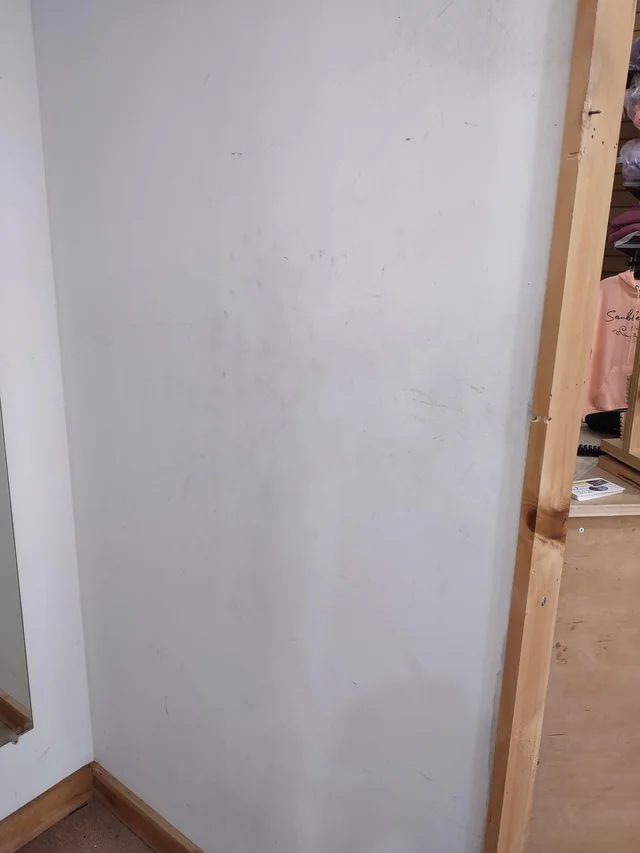
The first step in wall surface preparation is getting rid of the dust, loose dirt and debris that accumulates on the walls over time.
You might be thinking, how important is this?
Imagine trying to clean a dirty surface without dusting it first and removing loose particles. It would be like trying to mop a floor covered in crumbs. Less effective!
By dusting and vacuuming the walls, especially the flat-painted walls, we ensure that the main cleaning process becomes much smoother and more efficient. Plus, it helps to avoid any potential smearing or streaking of dirt during the actual cleaning phase.
Neglecting the crucial task of dust removal on flat-painted walls can result in the gradual buildup of unsightly grime, compromising both the aesthetic appeal and the overall cleanliness of the painted surfaces. This accumulation poses a dual challenge: it not only detracts from the visual allure of the walls but also creates hurdles when addressing more stubborn stains or attempting comprehensive cleaning.

So, what is the best way to go about it?
Grab a soft, dry cloth or a duster, and gently wipe away the loose dirt and cobwebs from the wall surface. As for those hard-to-reach spots, your vacuum cleaner's brush attachment will come in handy.
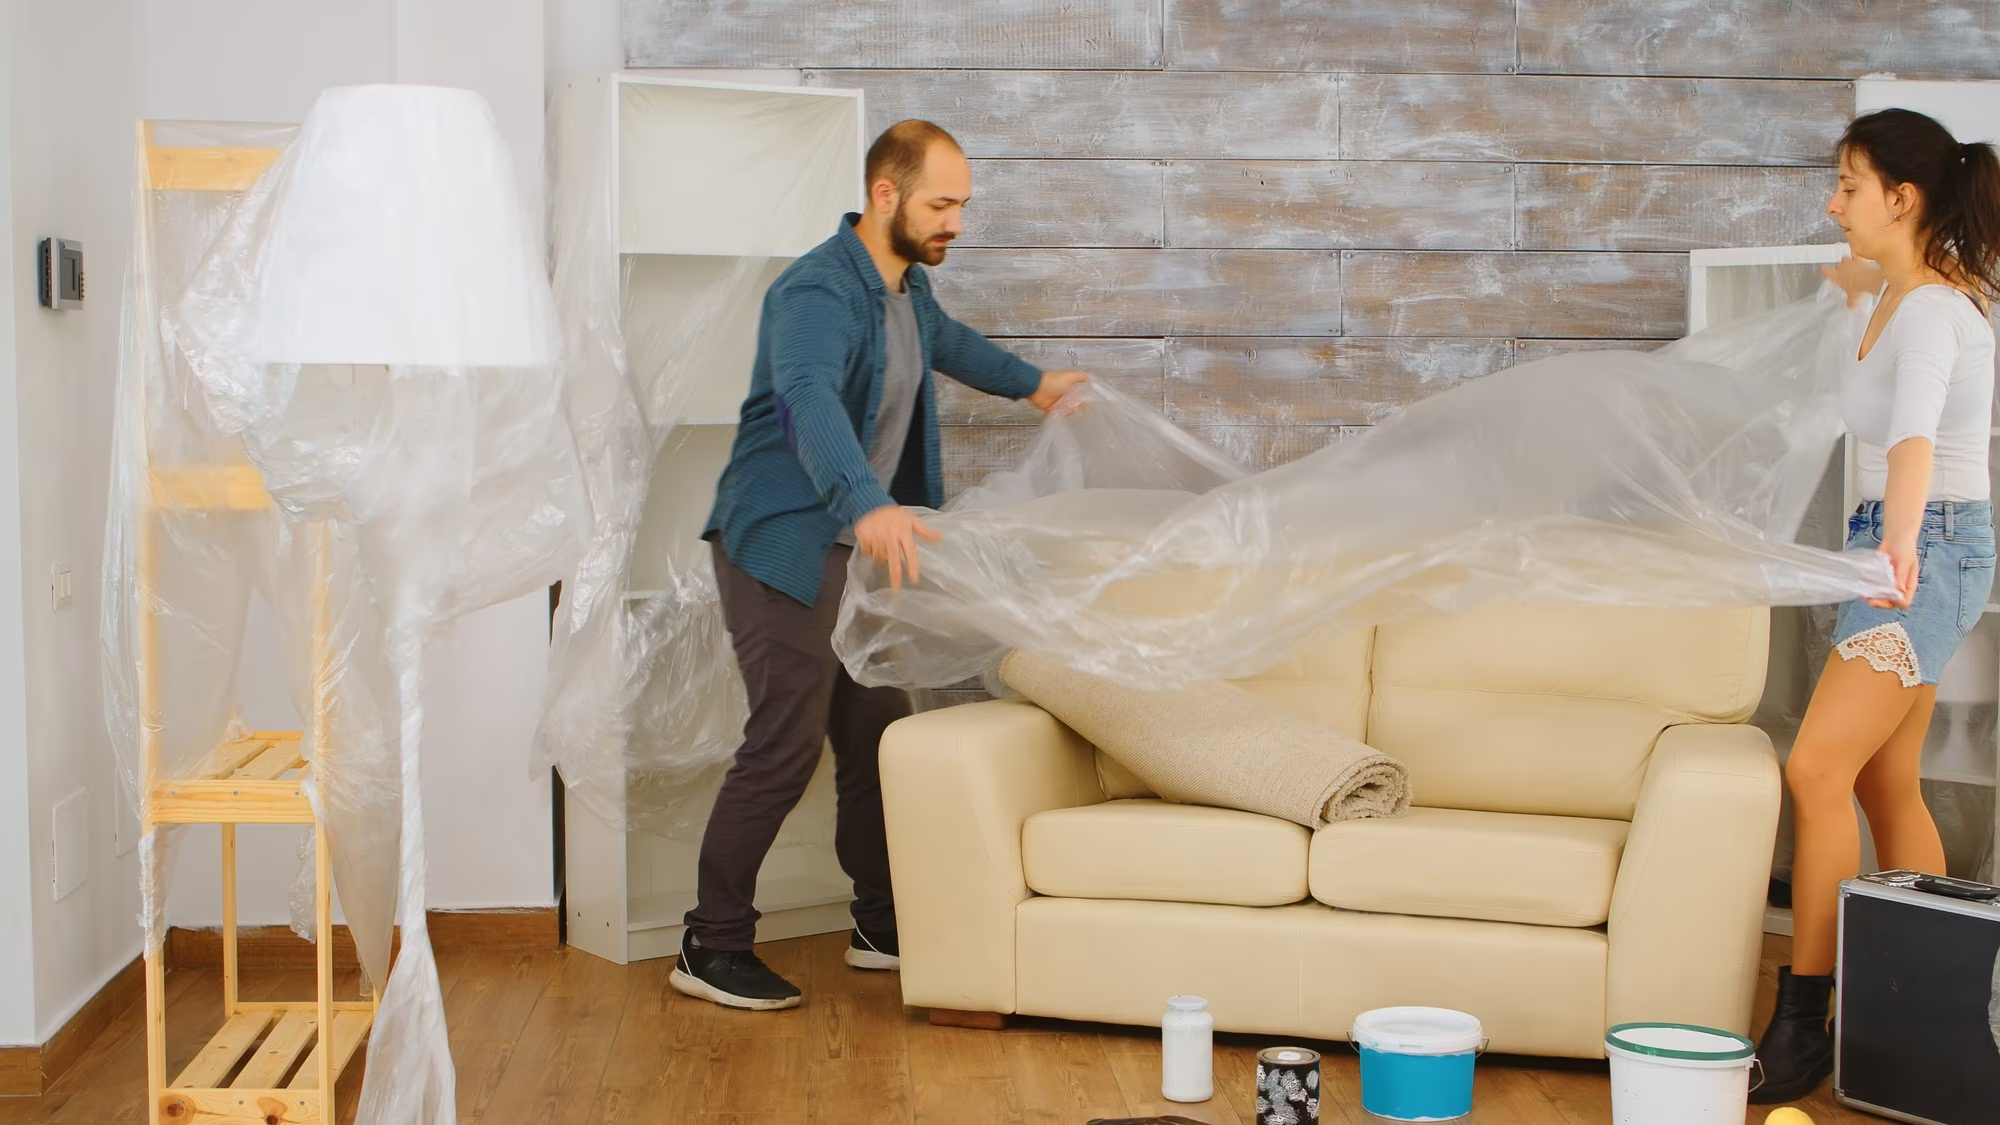
You cannot start cleaning walls with flat paints without taking precautions to protect adjacent surfaces, furniture, and flooring. We know you do not want any accidental water or cleaning solution splashes or drips causing damage.
Follow our quick guide on safeguarding adjacent surfaces during wall cleaning:
When it comes to keeping your flat-painted walls looking spotless, there are multiple ways of doing it. The best ones include using a mild detergent solution combined with some gentle cleaning techniques.
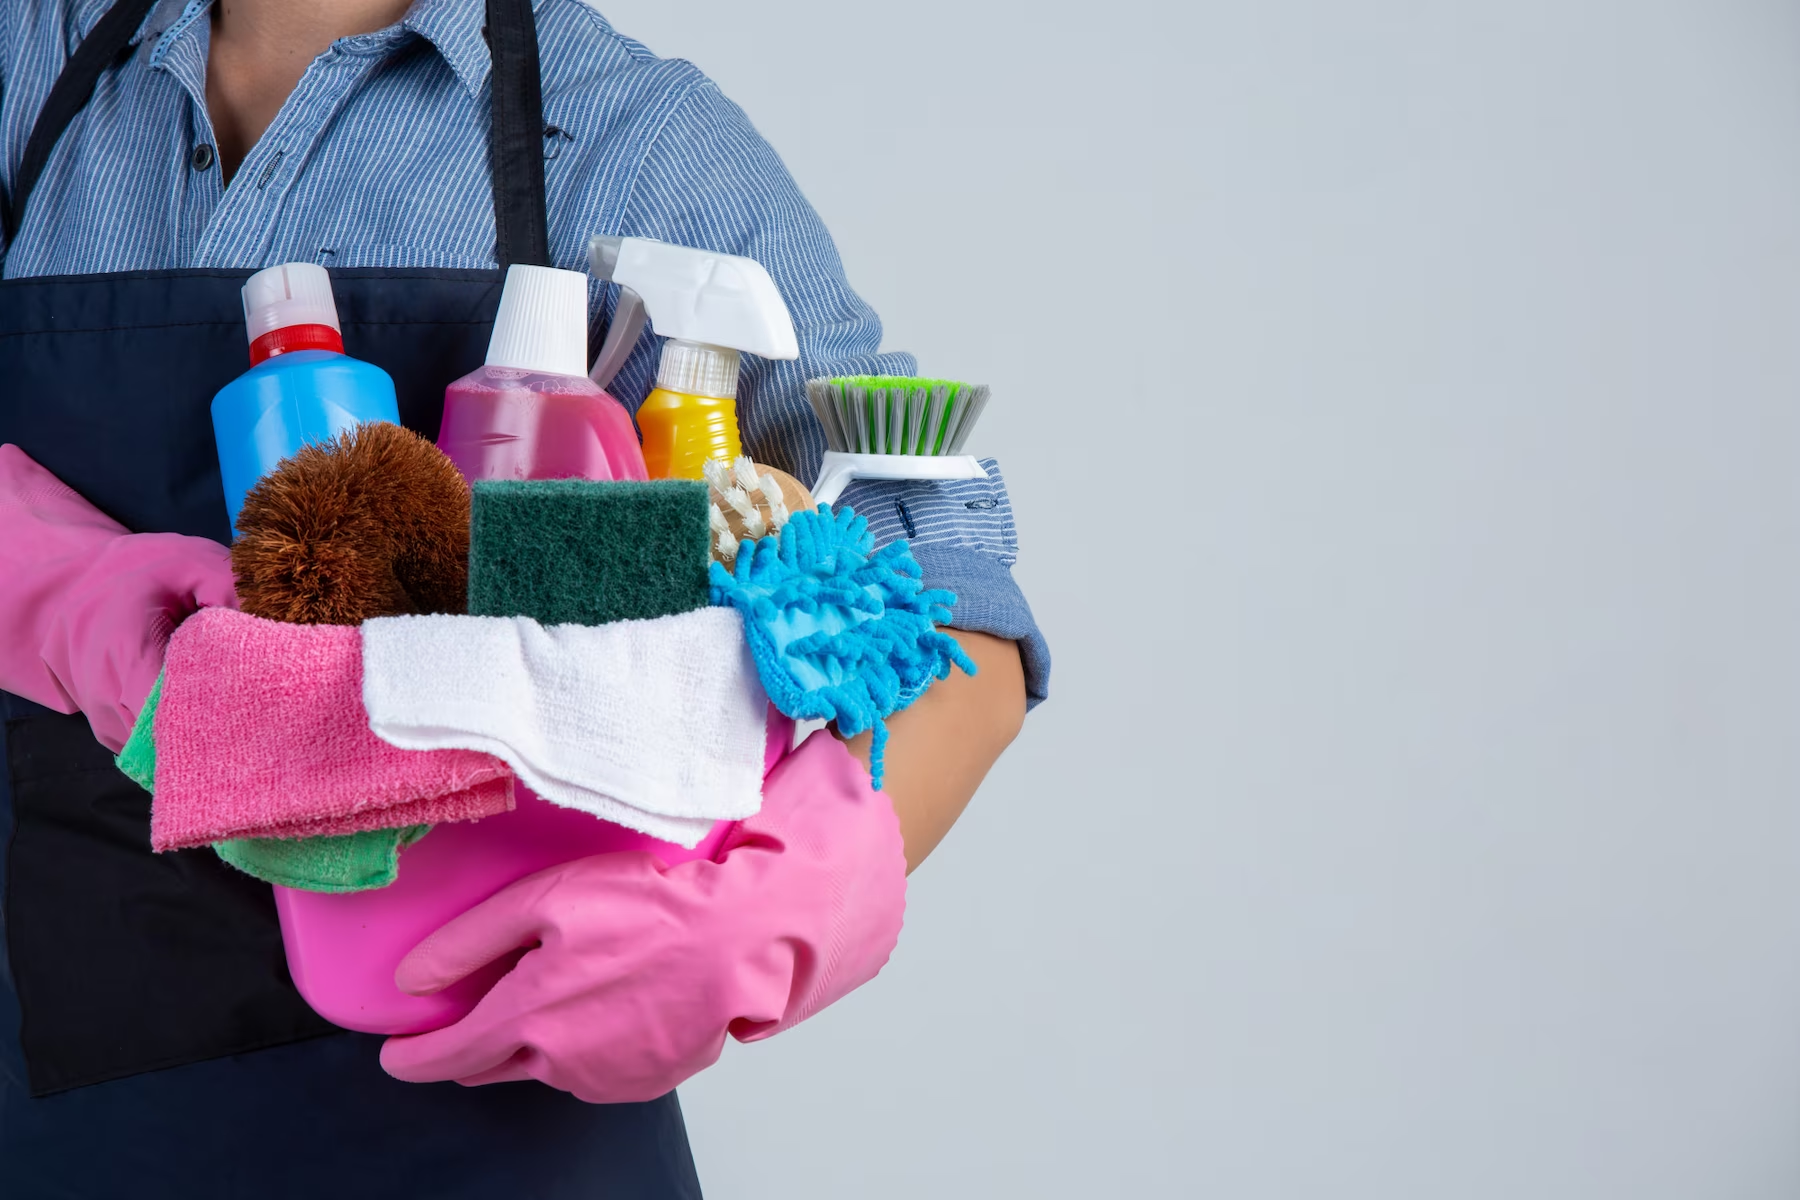
Begin the cleaning process by opting for non-abrasive cleaners that do not harm the paint while still getting the job done.
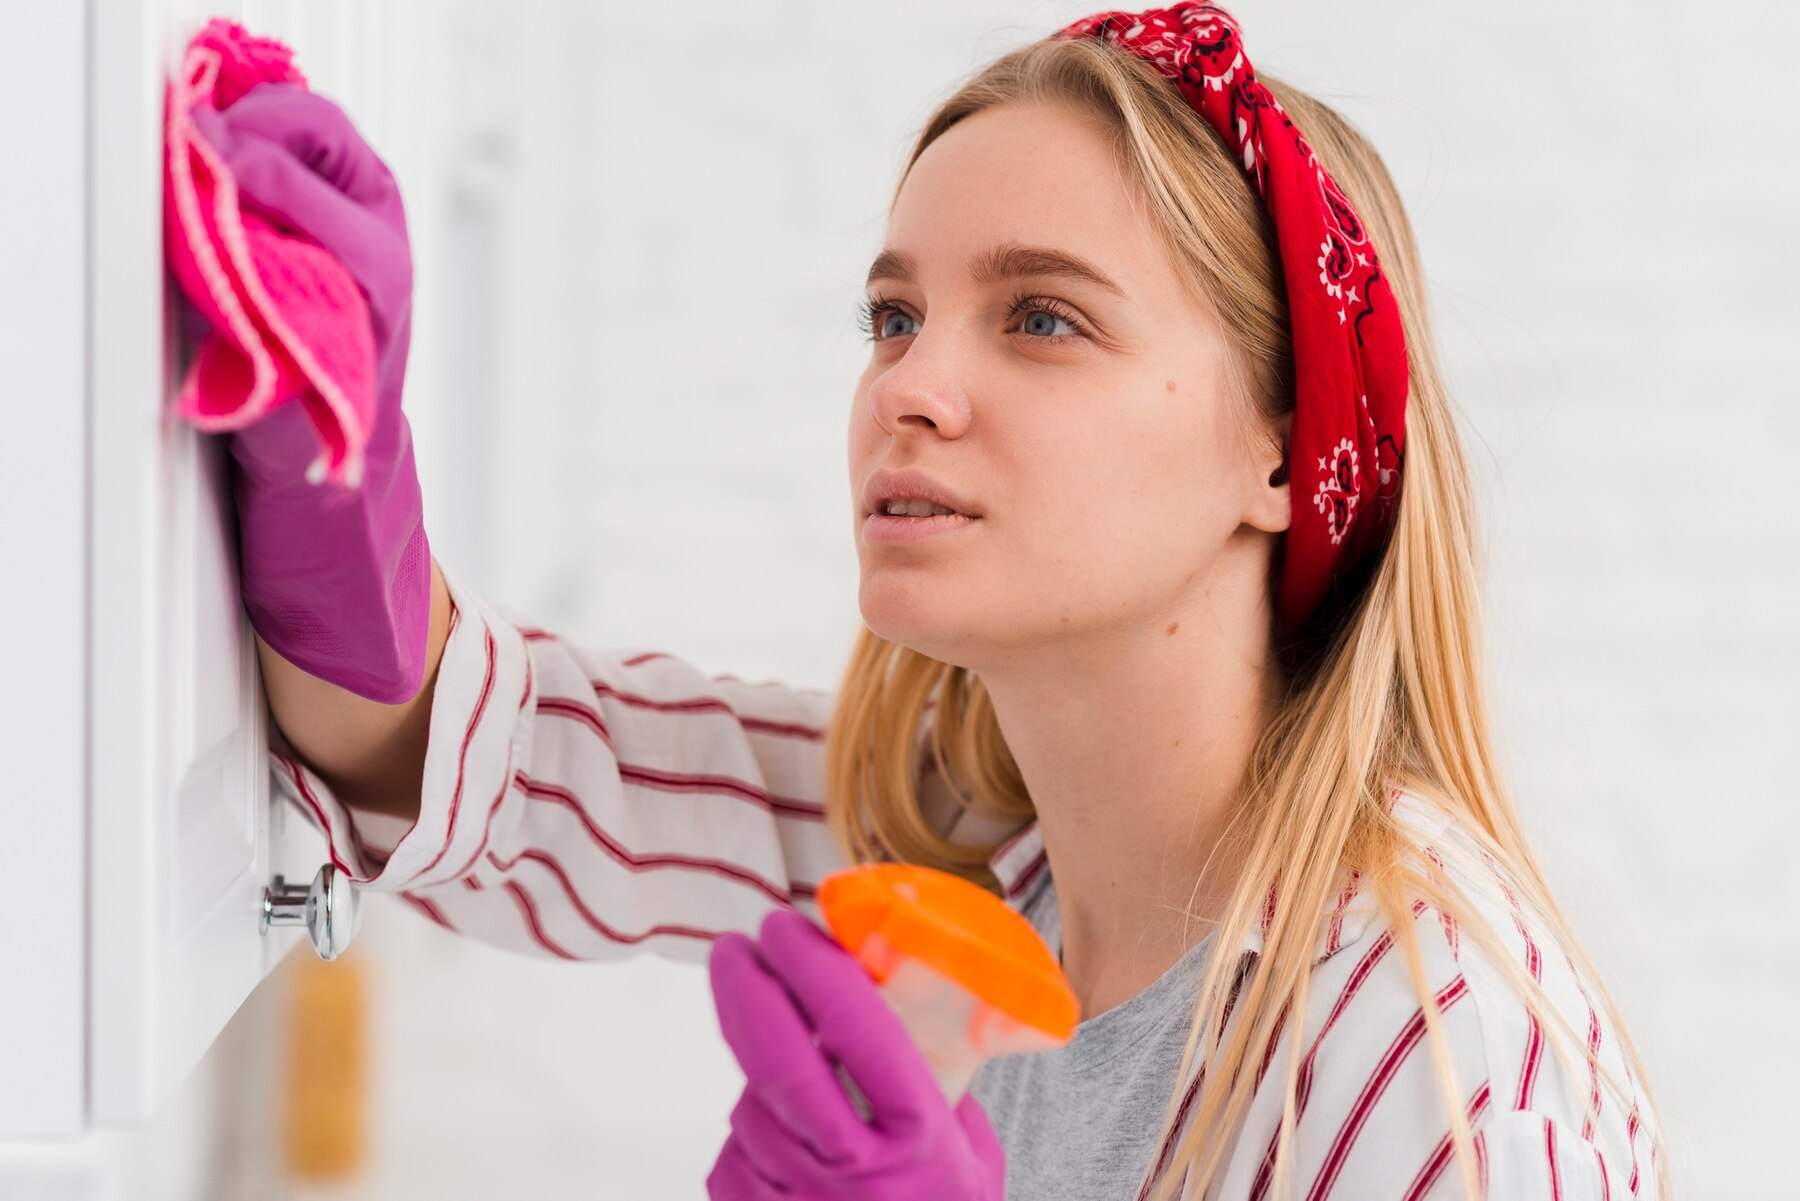
One great method is the wall washing method. It involves using a soft sponge or cloth dipped in the mild detergent solution to gently wipe away any dirt, grime, or stains. Avoid applying too much pressure or the paint starts peeling off.
But which mild detergent solution is the most suitable one? You can create it easily by mixing a small amount of mild liquid soap, a dye-free hand soap or dishwashing detergent in warm water. Ensure the solution is not too concentrated, as excessive soap can leave behind residues on the wall.
When cleaning, start from the top of the wall and work your way down. This way, you will not accidentally spread dirt or streaks to areas you have already cleaned.
A mild detergent solution and a gentle technique effectively clean flat-painted walls without risking any damage. Your walls will look fresh and clean, and you will maintain the appearance for a long time.
We know you do not want to lose the pristine finish of flat paints. So, when it comes to cleaning flat painted walls, you have to adopt safe cleaning practices.
A harsh chemical or abrasive that could harm the delicate surface is not a recommended paint-friendly solution. Instead of resorting to harsh abrasives or chemicals, opt for non-damaging cleaners.
The pre-cleaning evaluation is necessary because your walls may have different types of paint or coatings. This means that not all cleaning methods work well with every surface. This is where spot testing comes in.
Think of it as a compatibility check for your walls. Choose a small, hidden spot on the wall. This could be behind a piece of furniture or in a corner that isn’t visible easily.
Next, apply your cleaning solution there. See how the paint reacts and if any discolouration or damage occurs. If everything looks good after a few minutes, you are good to go for the whole surface.
Spot testing saves you from potential disasters and helps you find the best method for your flat-painted walls. It also tells you the wall compatibility with the cleaning solution.
It is time to make a do-it-yourself (DIY) cleaning solution for your flat-painted walls. Follow these four steps for an easy wall cleaning recipe.
Step 1: Gather Your Ingredients
First things first, let's get everything we need to make this cleaning solution. You will need a mild detergent or dishwashing soap and water.
Step 2: Mixing the Solution
Now that we have everything ready, it is time to create our magic solution mixture. Take the clean bucket and fill it with lukewarm water. Not too hot, not too cold, just right.
Here comes the secret ingredient, the mild detergent or a non-dye soap. You do not need much; a few drops will do the trick. Also, do not go overboard, or you will end up with too much soap!
Step 3: Stir it Up
Give the mixture a gentle stir. We want the detergent to blend in nicely with the water. Remember, we are going for a balanced solution.
Step 4: Test the Solution
Before we go all in on the walls, perform a quick test as guided earlier on an inconspicuous spot. Grab a clean cloth, dip it into the solution, and gently dab a small amount on the wall. Check if it causes any damage to the paint.
Start the process of wall surface cleaning by dipping the soft sponge or cloth into the cleaning solution. Wring out any excess liquid to avoid drips. Gentle application technique is the aim here.
Begin cleaning from the top corner of the wall, working your way downwards. This helps prevent streaks and ensures that you do not miss any spot or go over the same areas twice.
Now comes the most commonly used method, the circular motion technique. Gently rub the soft sponge or cloth on the wall using small circular motions. This motion helps lift dirt and stains without scrubbing too hard on the paint.
Take your time as you work your way across the wall. Be thorough in your approach, paying attention to any particularly stubborn stains or spots. Remember, always work in small sections. We want to clean the walls, not remove the paint!
Now that you are done cleaning, grab another clean cloth or sponge, dampen it with fresh water, and give the walls a gentle wipe to remove any leftover detergent. After that, let the walls air dry, and voilà - you've got yourself squeaky-clean flat-painted walls!
Now that you have finished cleaning your flat painted walls, it is time to move on to the next step of drying and inspecting the wall surface. This is an essential part of the process to ensure your walls look pristine and spotless.
For this, you need a clean, dry cloth. Make sure it is free from any moisture or dirt, as we do not want to introduce any new mess to the freshly cleaned walls. Gently pat the walls dry, starting from the top and working your way down. Drying the walls properly will help prevent streaks and water spots from forming.
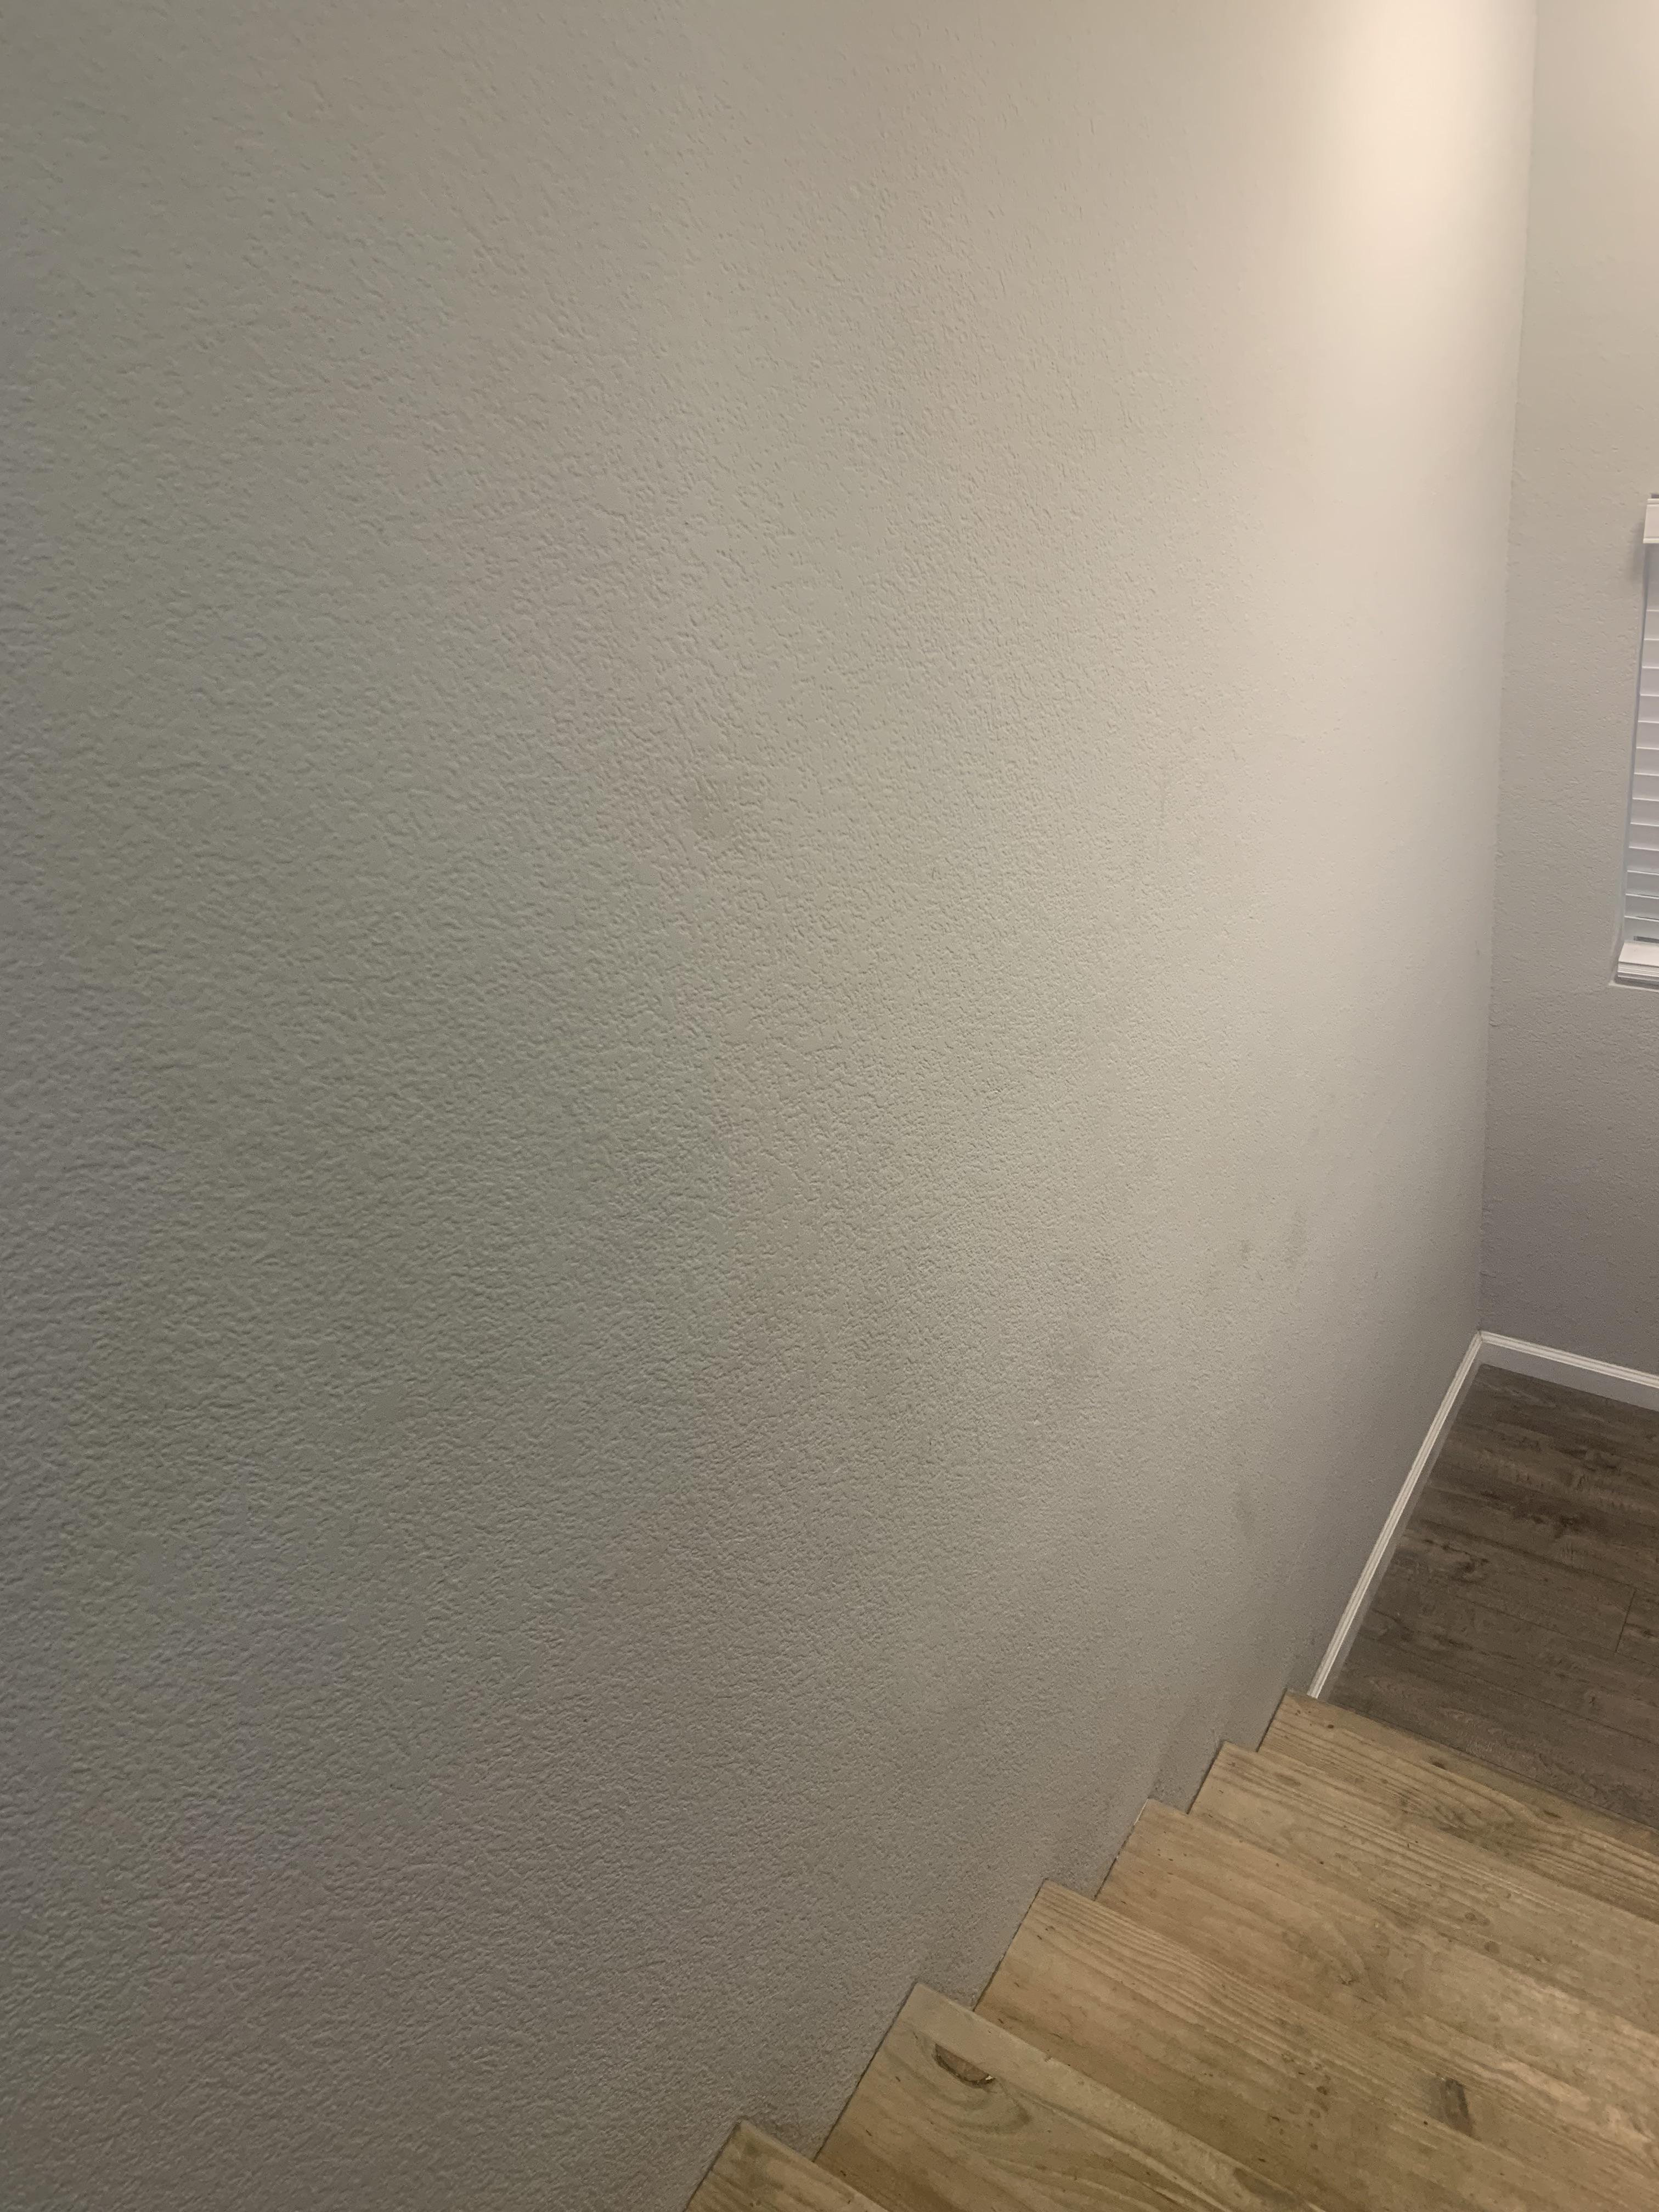
Once the walls are dry, it is time for the wall surface assessment! Take a close look at the entire wall area and inspect it carefully for any remaining spots or stains. Look out for those sneaky blemishes that might have escaped your initial cleaning efforts.
If you happen to discover any unclean spots or stains, don’t worry! This is a human error and we have a fix for you. This should shift your focus need to spot removal. Take your time and use the appropriate cleaning method for the specific stains you encounter. Make sure to follow the instructions and be gentle with the wall surface.
Have you noticed some stubborn stains on your flat-painted walls? We have got your back with some targeted approaches to tackle those spots of ink, grease, and crayon marks.
If you have children running around the house who have drawn on the walls with ink pens, grab rubbing alcohol or hydrogen peroxide on a cotton ball or cloth. Gently dab the affected area until the ink starts to lift away. Scrubbing the walls too hard damages the paint.
Similarly, if you have colourful crayon marks on the walls, don't fret. Simply grab a non-gel toothpaste, preferably white, and apply a small amount to the marks. Gently rub with a soft cloth or sponge, and the crayon should come off without harming the paint.
The grease stains can be a bit tricky. But here is what you can do about it. Sprinkle a bit of baking soda on the stain and let it sit for a few minutes. Then, wipe it off with a damp cloth. The baking soda should absorb the grease, leaving your wall looking clean.
When was the last time you took proper care and maintained your flat paint walls?
By following the best practices for cleaning flat-painted walls, you can ensure both safety and effectiveness in removing stains and dirt. However, the utmost importance lies in adopting gentle methods that preserve the finish intact.
The final takeaways for flat paint care include being cautious and using appropriate tools and techniques for cleaning. Most importantly, prioritize the preservation of the finish. With these guidelines in mind, you can maintain your walls' finish and extend their longevity for years.
Our major concluding tip is attention to detail is the key to achieving that flawless finish. So, take your time, be thorough, and give your walls the care they deserve.