A plunger can be a lifesaver if you're experiencing a clogged drain. This simple tool can help you clear blockages in sinks, toilets, and showers without the need for harsh chemicals or expensive plumbing services. But if you've never used a plunger, you might be unsure where to start.
In this article, we'll cover everything you need to know about using a plunger effectively.
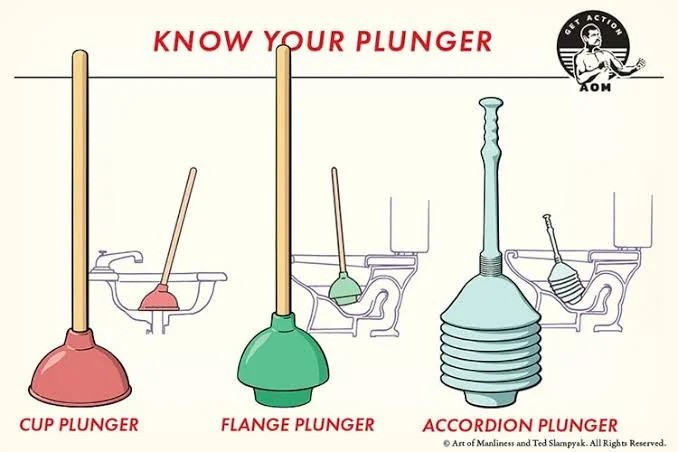
When it comes to clearing a clogged drain, a plunger is a handy tool to have. However, not all plungers are created equal. Choosing the right plunger for the job can make all the difference in effectively unclogging your drain.
In this section, we'll discuss how to select the right plunger for your needs.
There are three main types of plungers: cup plungers, flange plungers, and accordion plungers.
Cup Plunger: Cup plungers are the most common type of plunger and are typically used for unclogging sinks, showers, and bathtubs. They have a rubber cup that creates suction to dislodge clogs.
Flange Plunger: Flange plungers, also known as toilet plungers, have a rubber cup with an extended flange that fits snugly into the toilet bowl. They are designed to create a seal around the toilet drain to effectively unclog the toilet.
Accordion Plunger: Accordion plungers are designed for unclogging sinks and tubs with flat drains. They have a ribbed rubber cup that compresses and expands like an accordion to create suction.
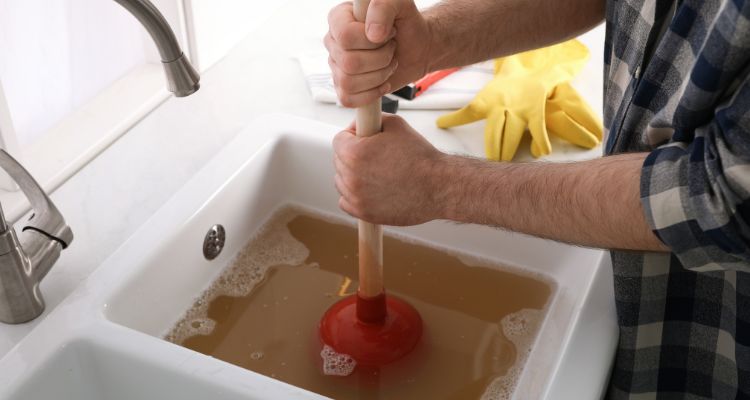
Once you understand the different types of plungers, it's important to match the plunger to the type of clog you're dealing with.
For sink and bathtub clogs, a cup or accordion plunger should do the trick. Cup plungers work best for flat surfaces, while accordion plungers are better suited for uneven surfaces.
If you're dealing with a toilet clog, a flange plunger is your best bet. The extended flange creates a tight seal around the toilet drain, allowing for maximum suction.
When selecting a plunger, make sure it fits comfortably in your hand and is easy to use. Remember, the right plunger can make all the difference in effectively unclogging your drain.
Before you begin plunging, it's important to prepare the area to prevent any mess or damage. Here are the steps you should take:
First, clear the area around the clogged drain. Remove any items such as bath mats, trash cans, or other objects that could get in your way. This will give you ample space to move around and prevent any accidental spills or splashes.
Next, place old towels around the base of the toilet or sink to catch any spills. This will make cleanup easier and prevent any water damage to your floors.
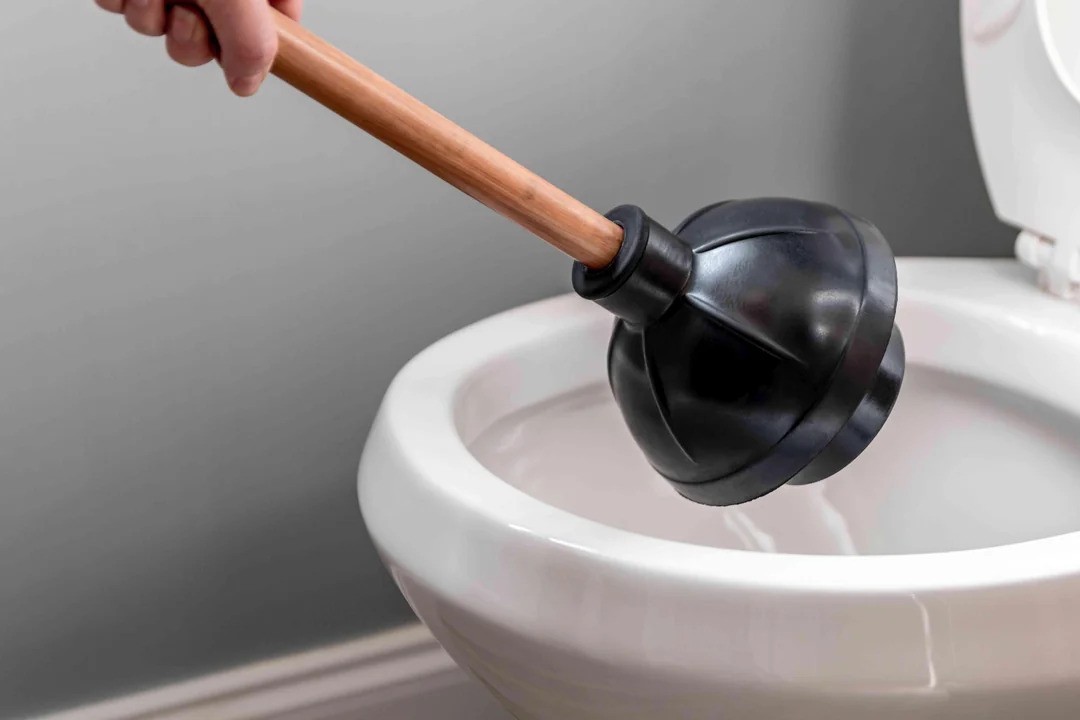
For toilets, you'll need to adjust the water level in the bowl before plunging. If the water level is too high, it may overflow when plunging. On the other hand, if the water level is too low, you won't be able to create the necessary suction to clear the clog.
By securing the area and adjusting the water levels, you'll be ready to start confidently plunging.
When it comes to using a plunger, there are a few techniques that can help you get the job done quickly and effectively. In this section, we will cover the three main techniques you need to know: creating a tight seal, applying correct pressure, and plunge duration.
The first step in using a plunger is to create a tight seal between the plunger and the drain. This is essential for building up the suction necessary to clear the blockage. To create a tight seal, place the rubber cup of the plunger firmly over the drain hole.
Make sure the cup is centered over the hole and is completely covering it. If the plunger is too small, it won't create a tight seal, and if it's too large, it won't fit in the drain.
Once you have created a tight seal, it's time to apply the correct amount of pressure. You want to push down on the plunger firmly but not too hard. If you push too hard, you could break the seal, and if you don't push hard enough, you won't create enough suction to clear the blockage.
Apply enough pressure to compress the air inside the plunger cup without causing splashing.
The final technique to keep in mind is the duration of the plunging. You want to plunge the drain up and down several times until you feel the blockage break apart and the water starts to drain. This can take anywhere from 10 to 20 plunges, depending on the severity of the blockage.
Be patient and persistent, and don't give up too soon. If you don't see any improvement after several plunges, you may need to try a different method or call a plumber.
Using these plunging techniques will help you clear most blockages quickly and easily. Remember to create a tight seal, apply the correct pressure, and plunge for the appropriate duration.
With a little practice, you'll be able to tackle even the toughest clogs like a professional.
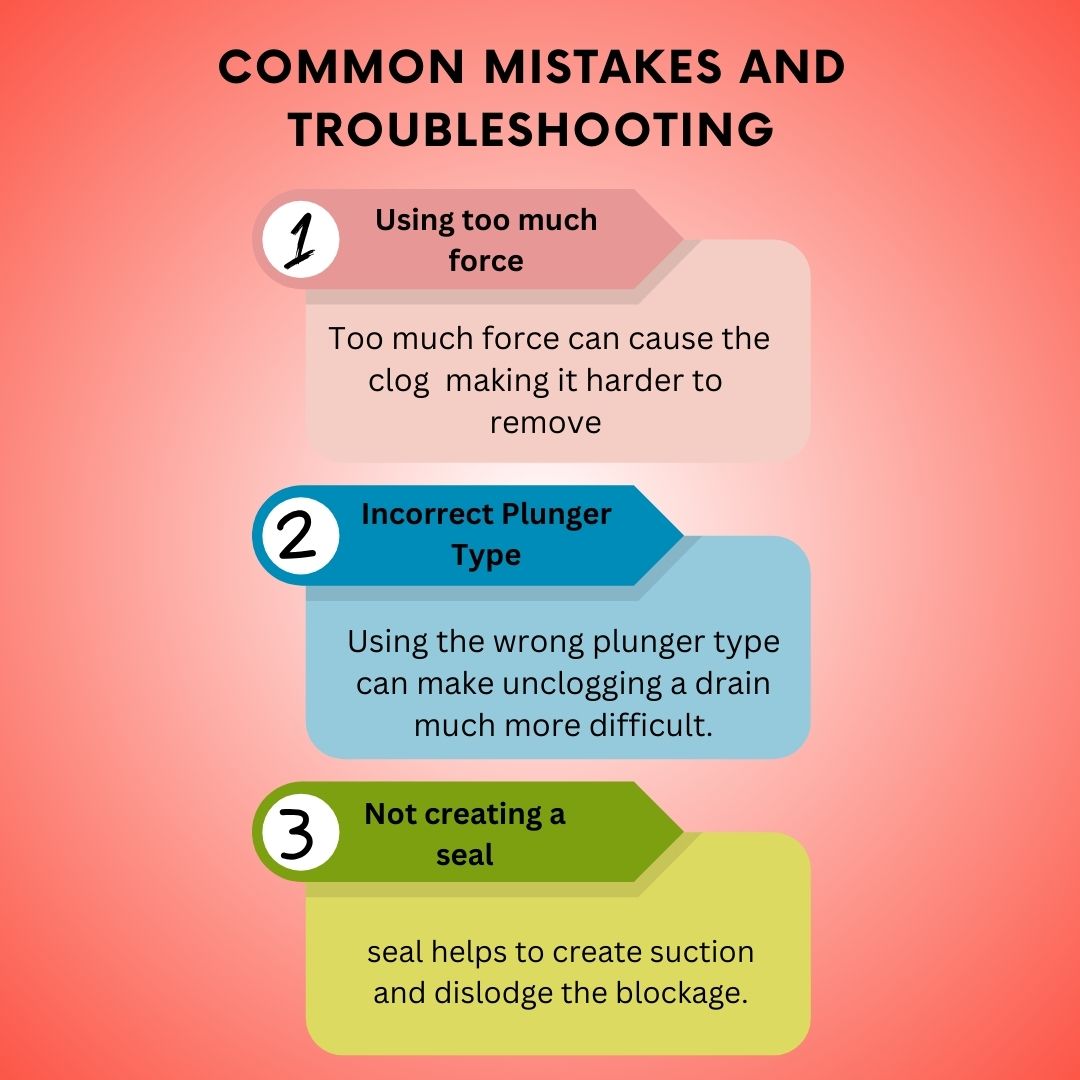
Using a plunger may seem like a simple task, but people make a few common mistakes when trying to unclog a drain. Here are some tips to avoid these mistakes and ensure that your plunging efforts are practical:
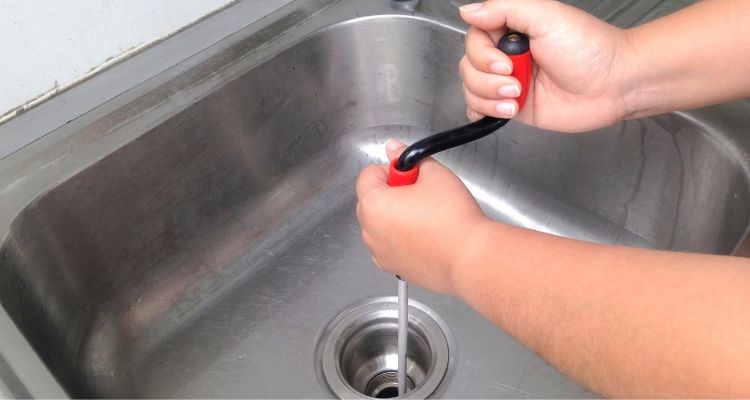
If you've tried plunging and the clog still won't budge, there are a few troubleshooting tips you can try:
Let this sit for a few minutes, then pour a mixture of one cup of vinegar and one cup of hot water down the drain. Cover the drain with a plug and let the mixture sit for about 10 minutes. Finally, pour another pot of boiling water down the drain to flush out any remaining debris.
By avoiding common mistakes and trying these troubleshooting tips, you can ensure that your plunging efforts are effective and that your drains stay clear.
Once you have successfully unclogged your drain using a plunger, it is essential to properly care for and maintain your plunger. This will ensure its longevity and effectiveness for future use.
After each use, rinse the plunger thoroughly with hot water to remove any residue and keep it clean. It is also recommended to disinfect the plunger to prevent the spread of germs and bacteria.
You can use a solution of one-part bleach to ten parts water or a disinfectant spray to clean the plunger. Be sure to wear gloves and protective eyewear when handling bleach.
To clean the plunger, fill a bucket with the bleach solution or disinfectant spray and immerse the plunger in it for at least 30 minutes. Afterward, rinse the plunger thoroughly with hot water and let it air dry completely before storing it.
It is important to store the plunger in a clean and dry place to prevent the growth of mold and bacteria. You can keep the plunger in a bucket or a plastic bag to protect it from dust and dirt. Be sure to label the bag or bucket to avoid confusion with other cleaning tools.
When storing the plunger, make sure it is in an upright position to allow any remaining water to drain out. This will prevent the plunger from becoming waterlogged and losing its suction power.
By following these simple cleaning and storage practices, you can ensure that your plunger is always ready for use when you need it. Proper maintenance of your plunger is essential to keep it in good condition and extend its lifespan.
There are many different types of plungers like we discussed today therefore the very first step in learning how to use a plunger is to select the right type for your needs!
Next, make sure you prepare the area you are aiming to plunge and use proper techniques such as applying the correct amount of pressure and creating a tight seal around the area.
Lastly, ensure that you clean your plunger properly and store it in a bucket or plastic bag protecting it from dust and mold.
Follow these tips and you will be a master plunger in no time!