A Step-by-Step Guide on How to Take Blinds Down
 Author: Howard Griner | Updated on April 24, 2024 Author: Howard Griner | Updated on April 24, 2024
You may be wondering how to take the blinds down and trying to understand the need to remove blinds.
The ability to remove blinds correctly is a useful one that has many applications. Whether it's for replacement, cleaning, or repair, this information is essential. Blinds require regular upkeep to last a long time.
Removing window blinds allows for comprehensive cleaning and damage repair, which guarantees their continuous usefulness and attractive appearance.
In addition to blind maintenance, removal is essential for health and cleanliness. Dust, pollen, and filth build up on blinds over time can lower indoor air quality and could be harmful to your health.
By taking down and cleaning the blinds, you can reduce these worries and create a more comfortable and healthy living space.
Removing blinds improves a room's overall aesthetics by providing a blank canvas for fresh patterns, hues, or window coverings. Finally, for safety, using the right blind removal techniques is crucial.
Therefore, knowing how to remove blinds not only protects them and keeps the atmosphere healthier, but it also allows for flexibility in interior design and guarantees a safe and incident-free operation.
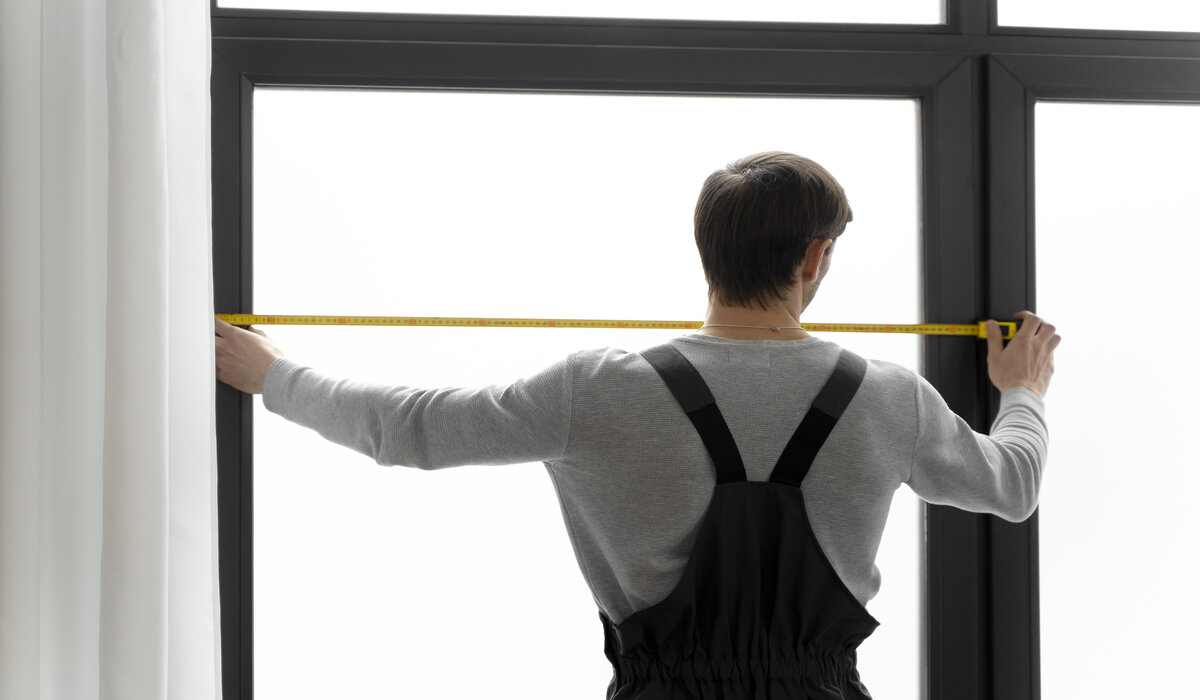
To guarantee a hassle-free and effective job, it is imperative to gather the necessary instruments and supplies for a seamless blind removal procedure.
Gathering tools for blind removal is crucial whether you're doing maintenance, changing out your blinds, or renovating your windows.
Required Equipment:
Necessary Items:
To safeguard your hands and eyes during the removal process, think about donning gloves and protective glasses.
With a clear canvas to easily redecorate or install new blinds, a seamless blind removal process may be ensured with the appropriate preparation and the availability of the necessary tools and materials.
You may have many questions regarding removing roller blinds, removing blinds safely, and taking down Venetian blinds.
Do not worry, and keep reading to have all your questions answered.
1. Preparing for Blind Removal:
2. Removing Roller Blinds:
3. Taking Down Venetian Blinds:
4. Removing Vertical Blinds:

5. Final Steps for All Types:
Vertical, Venetian and roller blind removal is made safe and effective with the help of this step-by-step tutorial.
In addition to their practical use, blinds also improve a room's appearance. To guarantee their longevity and maintain a clean, organized appearance in your space, proper cleaning and maintenance are crucial.
The following advice can be used for keeping blinds mean and maintaining window coverings:
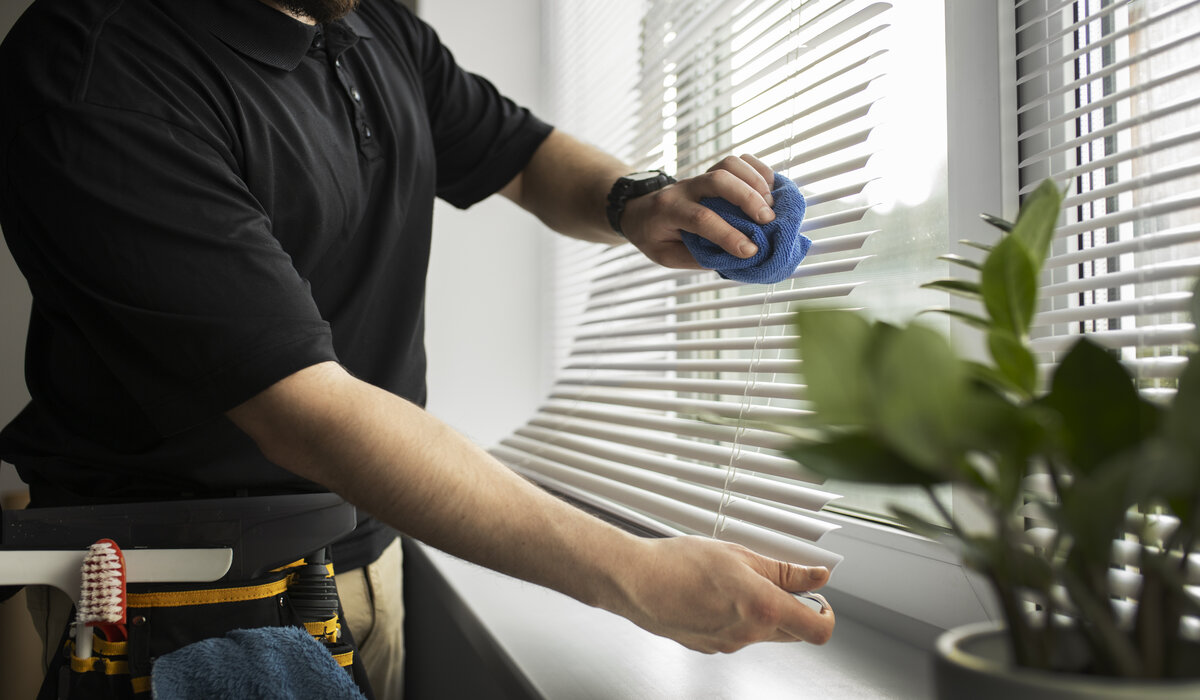
1. Cleaning During Removal:
2. Inspecting Blinds:
3. Maintenance After Removal:
4. Long-Term Maintenance:
These tips for cleaning and maintaining blinds may result in spotless, useful, and fashionable window coverings for many years to come.
In addition to extending the life of your blinds, proper upkeep and cleaning will also make your room seem better overall.
Wondering how to reinstall blinds and need a guide on reinstalling window coverings? Read on to find out:
After cleaning or repairing your blinds, the next step is to reinstall them properly to restore privacy and aesthetics to your space. Here's a step-by-step guide on how to put blinds back up:
1. Gather Supplies and Instruments: Make sure you have a screwdriver, anchors or screws, brackets, and the blinds themselves.
2. Prepare the Window: To guarantee a dust-free and spotless surface for reinstallation, clean the window and its surroundings.
3. Place the Brackets: Ascertain where the brackets should go. This is usually at the top of the window frame for most blinds, although the precise placement may change based on the type of blinds and your preferences.
4. Fasten the Brackets: Using a drill or screwdriver, firmly fasten the brackets to the window frame or wall. Make sure they are level to avoid installing blinds that are crooked.
5. Install the Headrail: To fasten the headrail to the brackets for vertical or Venetian blinds, line up the headrail's holes with the stems of the brackets. Usually, the headrail is secured in place by notches or clips.
6. Hang the Slats or Blinds: Return each slat or vanes to the headrail for Venetian or vertical blinds. Make sure they are seated correctly in their clips or hangers and that they are equally spaced.
7. Check the Operation: Raise and lower the blinds to ensure that there are no obstacles in the way of their flawless operation.
8. Modify Cord Length: If your blinds have strings or cords, modify the length to make sure the blinds are level when closed and that the cords are even.
9. Final Inspections: Check the blinds for any problems, like misaligned slats or broken parts. Check for and resolve any issues before completing the reinstallation.
10. Clean and Finish: Using a fresh towel, wipe down the blinds to get rid of any fingerprints or smudges from handling them during reinstallation.
You can quickly replace your blinds after cleaning or repair by following these procedures. In addition to improving the appearance of your window coverings, proper reinstallation guarantees their longevity and functionality.
Gaining proficiency and learning how to take blinds down has several benefits for clean and functional windows. First off, the value of well-maintained blinds is that they extend their lifespan and guarantee their aesthetic appeal.
Removing and reinstalling blinds also promotes design versatility, enabling you to modify your window coverings to accommodate changing décor tastes. It offers a blank canvas for upgraded window treatments and redecoration, improving the appearance of your room as a whole.
In conclusion, knowing how to remove and reinstall blinds is not only about maintaining the functionality and appearance of window coverings; it's about achieving a tidy, functional window space that enhances the overall ambiance and comfort of your home or office.